

Key Takeaways
- Timing overseeding to your grass type and climate zone dramatically improves germination rates.
- Proper preparation - mowing low, dethatching, and loosening soil - is more important than seed quantity.
- Consistent, light watering for two to three weeks after seeding supports seedling establishment.
- Cool-season grasses thrive when seeded in early fall; warm-season grasses prefer late spring.
- Overseeding is a less disruptive alternative to full lawn renovation for thinning turf.
What you will need
Why Overseeding Works - and When to Do It
Overseeding means spreading grass seed over an existing lawn without completely removing what's already there. It's the go-to method for thickening a lawn that's looking sparse, recovering from drought stress, or simply aging. Done at the right time, it's far less disruptive than a full renovation and can dramatically improve turf density within a single growing season.
Timing is everything, and it follows your grass type:
- Cool-season grasses (Kentucky bluegrass, tall fescue, perennial ryegrass) grow most vigorously when soil temperatures are between 50°F and 65°F. Early fall - roughly late August through October depending on your location - is the sweet spot across most of the northern US. Soil is warm enough for quick germination, and mild temperatures reduce seedling stress.
- Warm-season grasses (Bermuda, zoysia, centipede, St. Augustine) need soil temperatures above 65°F to germinate reliably. Late spring through early summer is best across the South and Southwest.
Avoid overseeding during midsummer heat or mid-winter dormancy - seedlings emerging into extreme conditions rarely survive long enough to establish. If you're reconsidering whether turf is right for your yard at all, native plant alternatives may be worth exploring before you invest in seed.
Check Soil Temperature, Not Just Air Temperature
Air temperature is a rough guide, but soil temperature drives germination. An inexpensive soil thermometer, inserted two inches deep in the morning, gives you an accurate reading. For cool-season grasses, wait until readings are consistently between 50°F and 65°F before seeding - this is more reliable than going by calendar date alone.
Preparing Your Lawn for Overseeding
Preparation does more to determine success than any seed variety or spreader setting. Skipping steps here is the most common reason overseeding underperforms.
What you will need
Mow Low
Drop your mower blade to about 1.5-2 inches - shorter than your usual cutting height. This exposes soil and reduces competition from existing grass, giving new seed direct access to sunlight once it germinates.
Dethatch If Needed
Thatch is the layer of dead stems and organic matter that accumulates between the soil surface and green blades. A layer thicker than about half an inch acts as a physical barrier, preventing seed from reaching soil. Rent a dethatching rake or power dethatcher for large areas; a hand rake works fine for small patches.
Core Aerate Where Possible
Core aeration - using a machine that pulls small plugs of soil from the lawn - breaks up compaction and creates ready-made pockets for seed to settle into. It's optional but significantly improves germination rates, especially on clay-heavy or heavily trafficked lawns. Leave the soil plugs on the surface; they'll break down and improve soil texture naturally.
Rake and Clean Up
Remove debris, grass clippings, and dead material so seed can reach bare soil. This is the step most homeowners rush through - take the extra time.
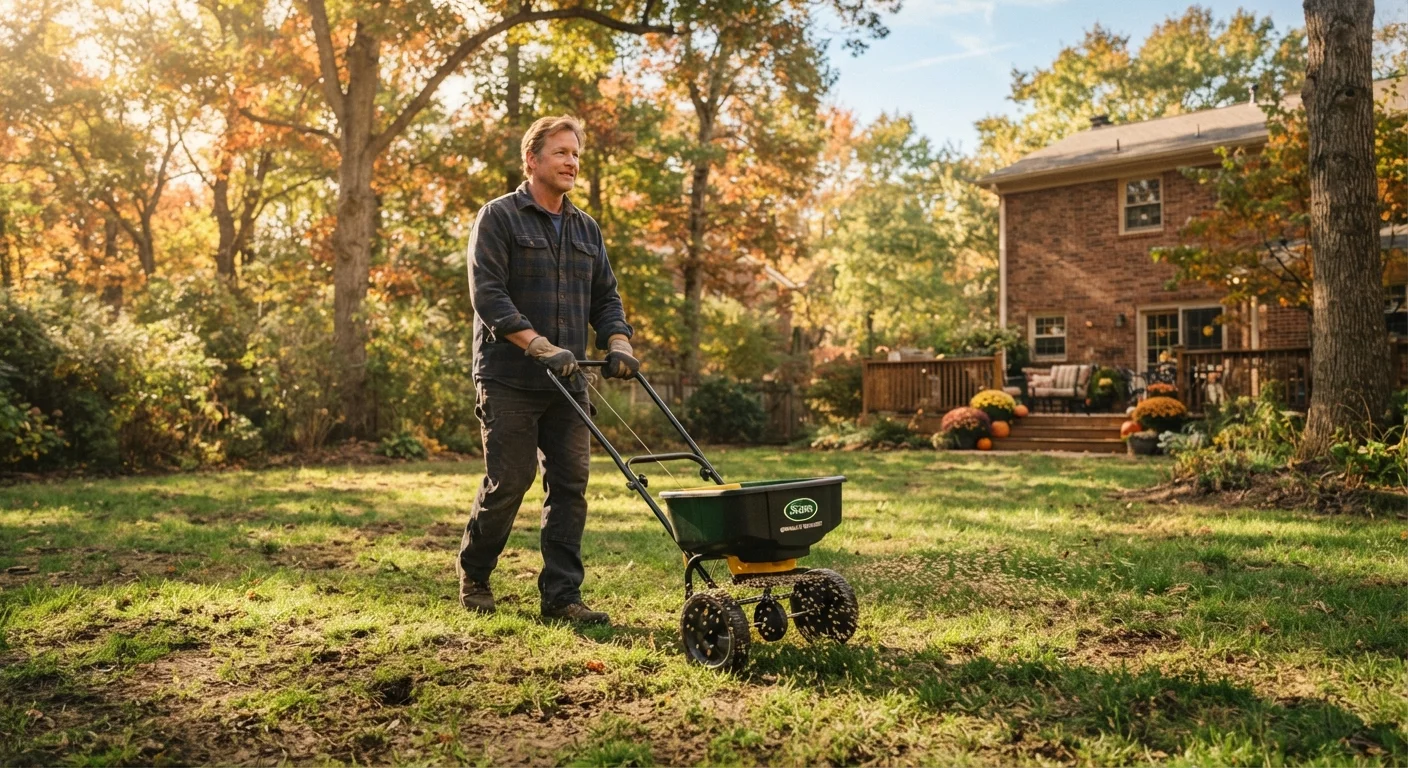
Broadcast Spreader
Distributes grass seed evenly across the lawn in wide passes.
Dethatching Rake or Power Dethatcher
Removes the thatch layer so seed can make direct contact with soil.
Core Aerator
Pulls plugs of soil to reduce compaction and create seed pockets.
Lawn Roller
Presses seed into the soil surface to improve germination contact.
Garden Rake
Clears debris before seeding and lightly works seed into the soil surface.
Seeding, Watering, and Follow-Through
With your lawn prepped, you're ready to seed. Choose a seed variety that matches your existing grass type as closely as possible, or a blend suited to your climate zone and light conditions.
Choose the Right Seed
Select a seed variety that matches your existing turf type and your yard's sun and shade conditions. A seed blend labeled for your region's climate zone is a practical starting point. Check the seed tag for germination rates - anything below 85% for cool-season varieties or 75% for warm-season types is less reliable.
Apply Seed at the Correct Rate
Overseeding rates are lower than rates used for bare-ground seeding. Follow the seed package guidance for overseeding specifically - typically about half the new-lawn rate. Use a broadcast or drop spreader calibrated to the recommended setting. Make two passes in perpendicular directions for even coverage.
Ensure Seed-to-Soil Contact
After spreading, use a rake or lawn roller to press seed into the soil surface. This direct contact is critical - seed sitting on top of thatch or loose debris rarely germinates consistently. On aerated lawns, seed naturally falls into the plug holes, which is one reason aeration improves results so dramatically.
Water Lightly and Consistently
New seed needs moisture to germinate but not standing water. Water lightly once or twice daily - just enough to keep the top half-inch of soil moist - until germination occurs. This typically takes 7-21 days depending on grass type and temperature. Once seedlings are visible, gradually shift to deeper, less frequent watering to encourage roots to grow downward.
After the seedlings emerge and reach about one-third taller than your normal mowing height, resume regular mowing. Avoid heavy foot traffic for at least four to six weeks to let root systems establish. Fertilizing lightly at the time of seeding - with a starter formula low in nitrogen - can support early root development without pushing excessive top growth.
If some areas of your yard are proving too shady or dry for grass to reliably establish, ground cover plants offer a lower-maintenance path that doesn't require repeated overseeding cycles.
Avoid Pre-Emergent Herbicides Before Overseeding
Pre-emergent weed control products work by preventing seeds from germinating - which means they'll stop your grass seed too. If you applied a pre-emergent in spring, check the product label for how long it remains active before proceeding with overseeding. Timing your fall overseeding too soon after a spring pre-emergent application is a common and costly mistake.