

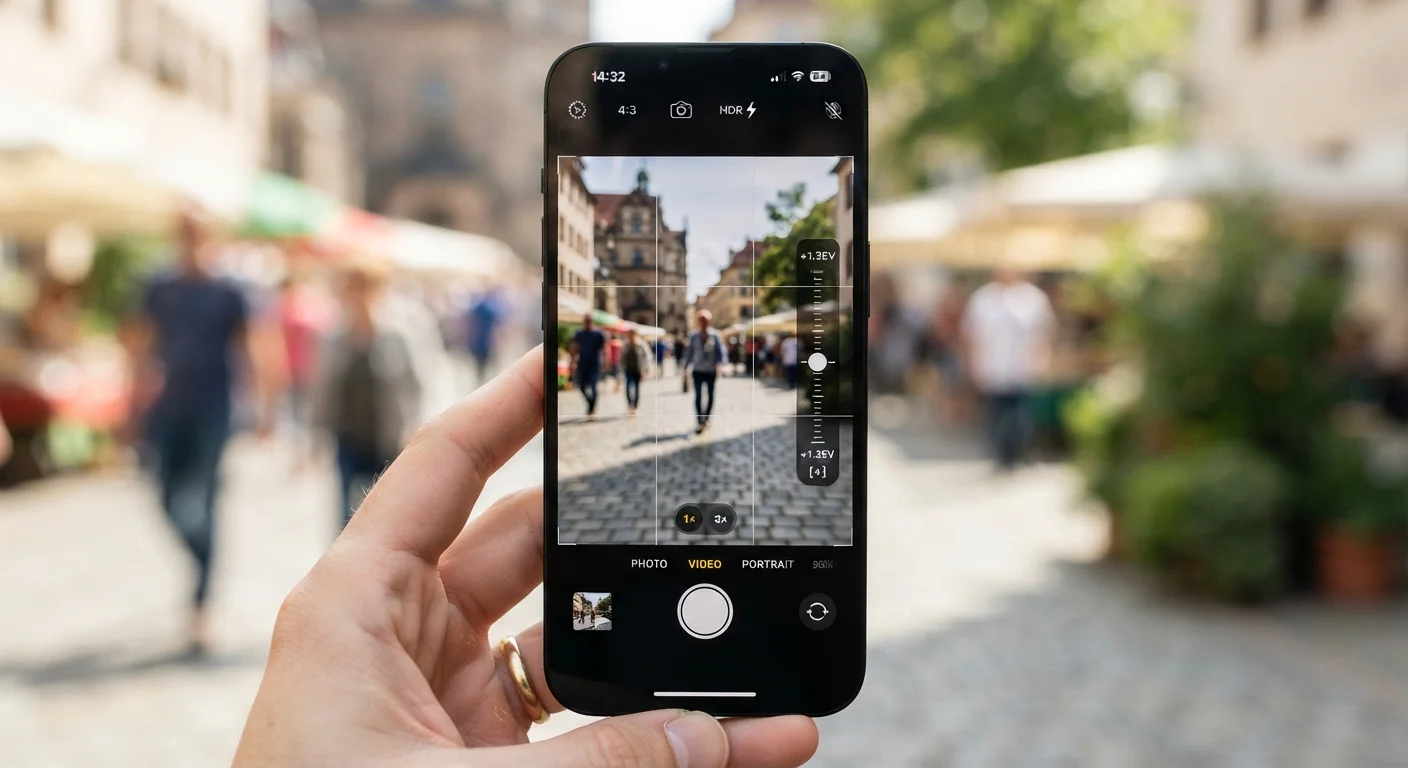
Key Takeaways
- HDR mode improves high-contrast scenes but can slow your camera and blur moving subjects.
- Locking exposure and focus separately prevents your phone from second-guessing your composition.
- RAW format preserves significantly more image data for editing, but takes up far more storage space.
- Grid lines help you apply the rule of thirds without guessing - a simple habit that sharpens composition.
- Shooting in ProRes or log video modes is powerful, but only practical if you plan to edit the footage.
Your Camera App Is More Capable Than You're Using It
Most people open their phone camera, tap, and shoot - and the results are often fine. But the default auto mode is designed for the average situation, not your specific one. A handful of settings buried one or two taps deep can make a genuine difference in the quality and consistency of what you capture.
These aren't gimmick filters or novelty modes. They're tools that professional and enthusiast photographers use deliberately - and understanding what each one actually does makes it much easier to know when to reach for it. As camera hardware has improved, software and settings have become an equally important part of the equation.
HDR: Turn It On Selectively, Not Always
HDR stands for High Dynamic Range. When enabled, your phone rapidly captures multiple exposures and merges them, preserving detail in both bright highlights and dark shadows simultaneously. It's genuinely useful in high-contrast situations - a sunlit window indoors, a landscape with both sky and shade.
The drawback: HDR takes a fraction longer to process, which can introduce motion blur if your subject or hands move. Many phones now offer an automatic HDR mode, but knowing when to switch it on manually - and when to turn it off for fast-moving subjects - gives you more control over the outcome.
HDR is most valuable when your scene has extreme contrast between light and shadow.
Grid Lines and the Rule of Thirds
Enabling the grid overlay in your camera settings places a tic-tac-toe pattern over your viewfinder. This assists with a basic photographic principle called the rule of thirds: placing your main subject along the grid lines - rather than dead center - tends to produce more visually engaging compositions.
It also helps you keep horizons level, which auto mode can't always detect correctly. Grid lines are purely a visual guide - they don't affect the photo itself - but they're one of the fastest ways to improve the feel of your shots without changing any technical settings.
Placing subjects on grid intersections rather than center-frame consistently improves composition.
Exposure Lock and Focus Lock (AE/AF Lock)
On most phones, holding your finger on the screen triggers AE/AF Lock - locking both the autofocus point and the exposure level. Once locked, you can reframe your shot without the camera recalculating brightness or sharpness for the new area of the frame.
This is especially useful when shooting subjects against a very bright or very dark background. Without locking, the camera continuously adjusts as you move, often blowing out highlights or underexposing your subject. Tapping once sets focus; holding locks it in place. It's a two-second habit that solves a persistent problem.
AE/AF Lock stops your camera from re-adjusting exposure when you reframe a shot.
RAW Format: For When Editing Matters
Standard JPEG photos are processed on-device the moment you shoot - sharpening, noise reduction, and color adjustments are all baked in before you ever see the image. RAW format skips that processing and saves the unaltered sensor data instead, giving you far more flexibility when editing.
Shadows that look crushed in a JPEG can often be recovered in a RAW file. Colors can be adjusted without introducing artificial-looking artifacts. The trade-off: RAW files are significantly larger - often four to six times the size of a JPEG - and require an editing app to get the most out of them. It's worth enabling for important shoots, but not necessarily for everyday photos. If storage is a concern, see how this connects to managing your phone's available space.
RAW files preserve far more data for editing, but at a significant storage cost.
Manual White Balance
Your phone constantly estimates the color temperature of the light around you and adjusts accordingly - a process called white balance. Auto white balance is accurate in neutral lighting, but it can introduce a yellow cast under indoor bulbs or a blue-green tint under fluorescent office lights.
Many camera apps let you manually set white balance using either presets (daylight, cloudy, tungsten) or a Kelvin scale slider. Setting it manually before a shoot - especially indoors - produces consistent, accurate color across a series of photos rather than having each frame look subtly different as the auto mode recalculates.
Manual white balance prevents the color cast that auto mode introduces under artificial lighting.
Timer and Burst Mode for Sharper, Flexible Shots
The self-timer (typically 2 or 10 seconds) isn't just for group shots. Using even a 2-second timer when the phone is propped or on a tripod eliminates the micro-vibration your hand causes at the moment of pressing the shutter - a common source of slight blurriness that's most visible in low light.
Burst mode (holding the shutter button on most phones) captures a rapid sequence of photos, making it easier to catch a precise moment in sports, pet behavior, or any fast-moving scene. From a burst of ten frames, you can pick the one where eyes are open and motion is sharp. Neither mode requires any extra hardware - they're already in your camera app.
A 2-second timer eliminates hand-vibration blur even without a tripod.
Start With These, Ignore the Rest
You don't need to master every mode in your camera app. The settings covered here represent the highest return on minimal effort - each one solves a real problem that auto mode regularly gets wrong. Once you understand what they do, you'll find yourself reaching for them instinctively rather than hunting through menus.
Test Each Setting Before You Need It
The worst time to learn a camera setting is in the middle of a moment you want to capture. Spend five minutes in your camera app during an ordinary afternoon - enable grid lines, try locking focus on a nearby object, and shoot a RAW frame alongside a JPEG to compare them. Familiarity with where each control lives makes you faster and more deliberate when it actually counts.
Keep in mind that shooting in higher-quality formats like RAW can fill up your phone faster than you'd expect. If your storage is already tight, understanding what's taking up space first will help you make room before switching modes.