

Key Takeaways
- Regular latex paint will not block water stains - the tannins bleed through regardless of how many coats you apply.
- You must fix the source of the moisture before painting, or the stain will return no matter what primer you use.
- Shellac-based and oil-based stain-blocking primers are the most reliable options for sealing stubborn water stains.
- Mold or mildew must be treated with a diluted bleach solution before any primer or paint is applied.
- Proper dry time between each step is essential - rushing leads to adhesion failure and visible bleed-through.
What you will need
Why Water Stains Keep Coming Back
Water stains are frustrating precisely because they seem to resist ordinary fixes. You roll on a coat of paint, it looks covered, and then a few days later the brownish ring reappears like nothing happened. The reason is chemistry: water stains leave behind tannins, minerals, and sometimes mold spores that are water-soluble. When you apply a water-based latex paint directly over them, the moisture in the paint reactivates those compounds and they migrate right through the new coat.
The fix isn't more paint - it's the right primer applied in the right sequence. Understanding this sequence before you open a single can will save you time, money, and the frustration of doing the job twice.
Identify the Source Before You Paint
Water stains on ceilings are most commonly caused by roof leaks, plumbing leaks from an upper floor, or condensation from HVAC equipment. Each requires a different fix. If you're unsure of the source, have a plumber or roofer inspect before you prime. Painting over an active leak will only delay the problem.
Water stains on ceilings are most commonly caused by roof leaks, plumbing leaks from an upper floor, or condensation from HVAC equipment. Each has a different fix. If you're unsure of the source, have a plumber or roofer inspect before you paint.
What You'll Need Before You Start
Gathering everything upfront prevents the classic mid-project hardware store run. Here's what this repair calls for:
Stain-blocking primer (shellac-based or oil-based)
Seals the water stain so tannins and minerals cannot bleed through the finish coat.
Putty knife
Scrapes away bubbled or peeling paint around the damaged area before priming.
120-grit sandpaper
Smooths edges of old paint and feathers the repair area for a flat finish.
Small paint roller and tray
Applies primer and finish paint evenly over the stained area.
Natural-bristle or foam brush
Cuts in around edges and corners where a roller cannot reach cleanly.
Household bleach and bucket
Mixed with water to treat mold or mildew before priming.
Matching finish paint
Restores the final surface appearance to match the surrounding wall or ceiling.
What you will need
Step-by-Step: The Correct Sequence
Follow these steps in order. Skipping or rearranging them is the most common reason stains bleed back through.
Fix the Source of the Moisture First
This is non-negotiable. Painting over an active or unresolved leak is a temporary cosmetic fix that will fail. Identify whether the stain comes from a roof leak, a plumbing leak, condensation, or an exterior water-intrusion issue. Have the underlying problem repaired and confirmed resolved before touching any primer or paint.
For stains near a basement or crawl space ceiling, interior vs. exterior waterproofing approaches can help you identify whether the fix belongs inside or outside the foundation wall.
Treat Any Mold or Mildew
If the stained area shows dark spotting, fuzzy growth, or a musty smell, mold is likely present. Mix one cup of household bleach with one gallon of water, apply it to the affected area with a sponge or brush, and let it sit for 10-15 minutes before rinsing lightly and allowing to dry fully. Wear gloves and eye protection. For large or deeply embedded mold growth, consult a remediation professional - painting over significant mold is not a safe fix.
Clean and Lightly Sand the Surface
Once dry, wipe the stained area with a damp cloth to remove dust, soot, or loose particles. If the surface has any bubbled, peeling, or flaking paint from the water damage, scrape it away with a putty knife and lightly sand the edges smooth with 120-grit sandpaper. Feather the edges so there's no abrupt ridge where old paint ends.
Apply Stain-Blocking Primer
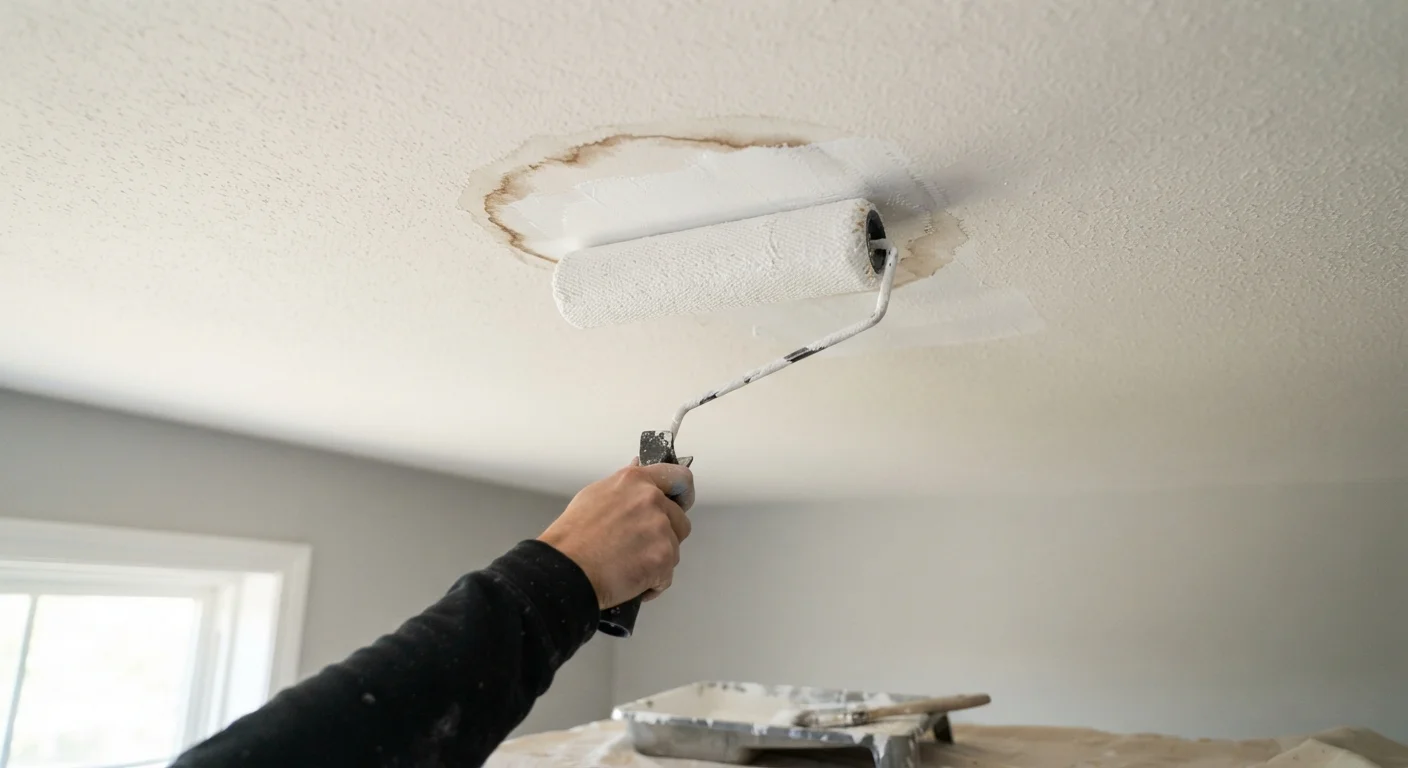
Apply one coat of stain-blocking primer directly over the stained area, extending a few inches beyond the visible boundary of the stain. Use a brush for edges and a small roller for the field of the stain. For shellac-based products, a natural-bristle brush works best. Allow to dry fully per the product's label - shellac primers typically dry in 45 minutes to one hour under normal conditions.
Check the area after drying. If any stain color is still visible through the primer, apply a second coat before moving on.
Apply Finish Paint
Once the primer is fully dry, apply your finish paint to match the surrounding surface. Use the same sheen level as the rest of the ceiling or wall - a matte ceiling paint over a flat existing ceiling, for example. Two thin coats are better than one thick coat. Allow the first coat to dry before applying the second.
For best color matching, use paint from the same batch you originally used on the room, or bring a chip of the existing paint to a paint counter for a color match.
Damaged Drywall Needs Repair First
If the water-stained area feels soft, spongy, or shows crumbling drywall paper, the material itself has been compromised. Primer and paint will not adhere properly to structurally weakened drywall. Repair or replace the damaged section before proceeding with any stain treatment.
If the stained area also shows signs of soft or crumbling drywall, you may need to cut out and replace the damaged section before priming. See our guide to patching drywall for a clean, step-by-step approach to that repair before you proceed here.
Choosing the Right Stain-Blocking Primer
Not all primers are created equal, and this is where most DIYers go wrong. Standard PVA drywall primer or even "premium" latex primers will not reliably block water stains. You need a dedicated stain-blocking product.
- Shellac-based primers (such as white-pigmented shellac in spray or liquid form) are widely considered the most effective option for heavy or old stains. They dry fast and block almost any stain type, including smoke, grease, and severe water damage.
- Oil-based stain-blocking primers offer strong performance and are a good choice when you want a brushable or rollable product. They require mineral spirits for cleanup and have stronger fumes, so ventilate well.
- Water-based stain-blocking primers have improved significantly and work well for lighter or fresher stains, but may not hold up against older, darker rings.
When in doubt, shellac-based wins for ceiling water stains. Apply in a well-ventilated space regardless of which product you choose. For additional context on why product chemistry matters in exterior situations too, see why outdoor and indoor paints differ.
Never Skip the Source Fix
Applying stain-blocking primer over an unresolved leak is a cosmetic patch, not a repair. The stain will return - often worse - as new moisture continues to saturate the surface. Confirm the source is resolved and the area is dry before any painting begins. If you're unsure, a professional inspection is worth the cost.