

Key Takeaways
- Old caulk must be completely removed before applying new material - never caulk over caulk.
- Surfaces must be fully dry for at least 24 hours before new caulk goes on.
- Use silicone or siliconized latex caulk rated specifically for wet bathroom environments.
- Fill the tub with water before caulking to account for joint movement under load.
- Allow at least 24 hours of cure time before any water exposure.
What you will need
Why the Prep Phase Determines Everything
Most recaulking jobs fail not because of bad caulk, but because of rushed preparation. Applying fresh caulk over a surface that's still damp, dirty, or incompletely cleared of old material almost guarantees the new bead will peel within months. If you've wondered why caulk keeps failing, inadequate prep is usually at the root of it.
Before you pick up a caulk gun, understand the nature of the joint you're sealing. The seam between a bathtub and its surrounding tile or wall is a movement joint - meaning it flexes slightly every time someone gets in or out of the tub, every time temperature changes, and every time the tub deflects under weight. That's why bathroom seams require caulk rather than grout, and why the caulk needs to be flexible enough to absorb that movement. Not all caulk is created equal - see our overview of caulk versus other sealants for more context on choosing the right material.
What you will need
Tools and Materials You'll Need
Gather everything before you start. Stopping mid-project with an open joint increases the risk of moisture getting into the substrate.
Caulk remover tool or utility knife
Cuts through and lifts old caulk from the joint without gouging the tub or tile surface.
Chemical caulk remover
Softens stubborn or thick caulk residue to make mechanical removal easier.
Isopropyl alcohol or bathroom cleaner
Degreases and cleans the joint surfaces so new caulk bonds properly.
Painter's tape
Creates clean, straight lines on either side of the joint for a neat finished bead.
Caulk gun
Delivers consistent pressure for an even bead of caulk along the joint.
Bathroom-grade silicone or siliconized latex caulk
Forms a flexible, waterproof seal designed to withstand moisture and movement.
Damp fingertip or caulk smoothing tool
Presses caulk firmly into the joint and creates a smooth, concave finish.
Step-by-Step: The Full Recaulking Process
Follow these steps in order. Skipping ahead - especially through the drying phase - is the single most common reason homeowners end up redoing this job within a season.
Remove all existing caulk
Use a caulk remover tool or a sharp utility knife to slice along both edges of the old caulk bead, then peel it away in strips. Work slowly to avoid scratching the tub surface or dislodging tile grout. A chemical caulk softener can help with particularly stubborn or thick old beads - apply it, wait the recommended time, then scrape.
Once the bulk is removed, go back with the tool tip and clear out any remaining fragments from the joint gap itself. The joint should look completely empty - no white residue, no old caulk stuck in corners.
Clean and degrease the surfaces
Spray or wipe both surfaces of the joint (the tub edge and the wall or tile above it) thoroughly with isopropyl alcohol or a non-oily bathroom cleaner. This removes soap scum, body oils, and mold residue - all of which prevent adhesion. For visible mold or mildew staining on the substrate, a diluted bleach solution can be used, but rinse thoroughly afterward.
Do not skip this step, and do not apply caulk immediately after cleaning.
Let the surfaces dry fully
This is the step most people underestimate. The joint and surrounding surfaces need to be completely dry - not just surface-dry, but dry through any pores or texture in the material. In a well-ventilated bathroom, this typically takes at least 24 hours after cleaning. Run the bathroom exhaust fan, open windows if possible, and resist the urge to rush.
Fill the tub with water before caulking
This step surprises many homeowners but matters significantly. A full tub of water weighs hundreds of pounds, which causes the tub basin to flex slightly downward and widen the seam at the joint. If you caulk with the tub empty, that seam will be narrower than it is under normal use - and when the tub fills and expands, the fresh caulk bead gets stretched and can tear away from the surface.
Fill the tub to normal bathing depth before applying caulk, and leave it filled until the caulk cures.
Apply painter's tape and cut the caulk tube
Run a strip of painter's tape along each side of the joint, leaving just the gap exposed. This creates clean, parallel lines and prevents smearing on the tub and tile. Cut the caulk tube nozzle at a shallow angle - a small opening (roughly 3/16 inch) gives you more control than a wide cut.
Apply a steady, continuous bead
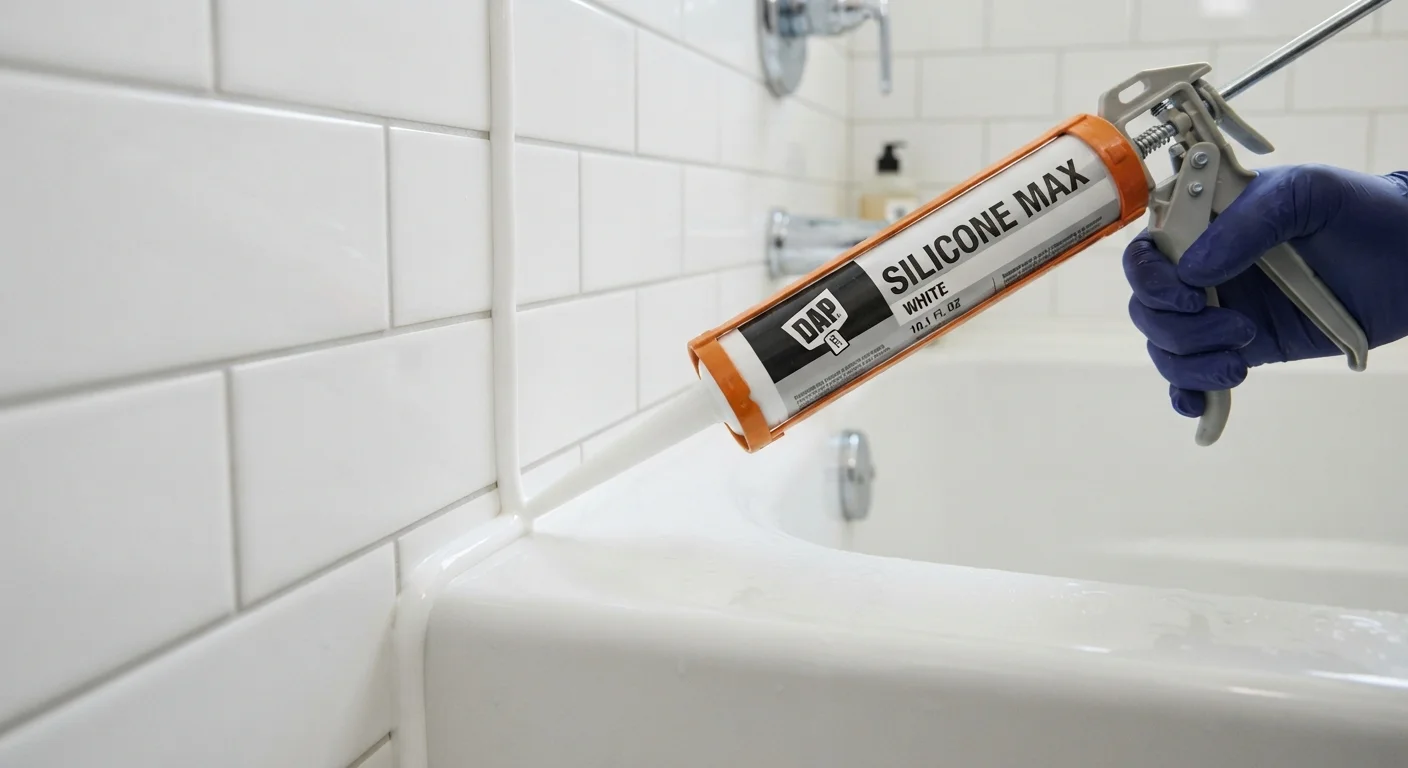
Hold the caulk gun at roughly a 45-degree angle to the joint and move it in one smooth, continuous motion along the full length of the seam. Apply steady trigger pressure and try to complete each wall section in a single pass without stopping. Stopping and restarting creates lumps and weak points in the bead.
Smooth the bead and remove the tape
Wet your fingertip slightly and draw it along the caulk bead in one smooth stroke, pressing the caulk firmly into the joint and creating a slightly concave profile. Alternatively, use a caulk finishing tool. Remove the painter's tape immediately after smoothing - while the caulk is still wet - pulling it back at a low angle to avoid disturbing the bead.
Allow full cure time before use
Leave the tub filled with water and do not disturb the caulk while it cures. Most bathroom-grade silicone caulks require a minimum of 24 hours before water exposure; check your specific product's label for its full cure time. Avoid touching, wiping, or testing the bead during this period.
Choose the Right Caulk for the Job
For bathtub seams, look for a product labeled specifically for kitchens and baths, with mold and mildew resistance built in. Pure silicone and siliconized latex are the most common suitable types - both offer flexibility and water resistance. Avoid standard paintable latex caulk, which isn't designed for continuous moisture exposure.
Never Caulk Over Existing Caulk
Applying a new bead directly over old caulk is one of the most common DIY mistakes. The new layer bonds to the old material rather than to the tub and wall surfaces, leading to early failure. Complete removal of all existing caulk is non-negotiable for a durable result.
After the Caulk Cures: What to Watch For
Once the caulk has fully cured (check the product label - most silicone formulas need 24 hours minimum, some require 48), run your first normal shower or bath and watch the joint carefully. A properly applied bead will remain flush, adhere tightly on both surfaces, and show no lifting at the edges.
If you notice the bead pulling away from one side within the first few uses, the surface likely wasn't clean or dry enough during application. Hairline cracks appearing after several weeks can signal that a rigid, non-flexible caulk was used - a bathroom-rated flexible formula is essential here. Persistent mold growth, even on new caulk, may point to underlying ventilation or moisture issues worth investigating separately, similar to the substrate concerns covered in guides on sealing against water intrusion in other parts of the home.
With good prep and the right materials, a recaulked tub joint should hold up for several years under normal use.