

Key Takeaways
- Discontinued tile doesn't automatically require a full floor or wall replacement.
- Sourcing salvage yards, online marketplaces, and contractor surplus can turn up discontinued tile.
- Intentional contrast tile or a "feature" replacement approach can turn a mismatch into a design choice.
- Proper substrate prep matters as much as the replacement tile itself.
- Matching grout color is often as important as matching the tile when blending repairs.
What you will need
Why Discontinued Tile Is a Common Homeowner Problem
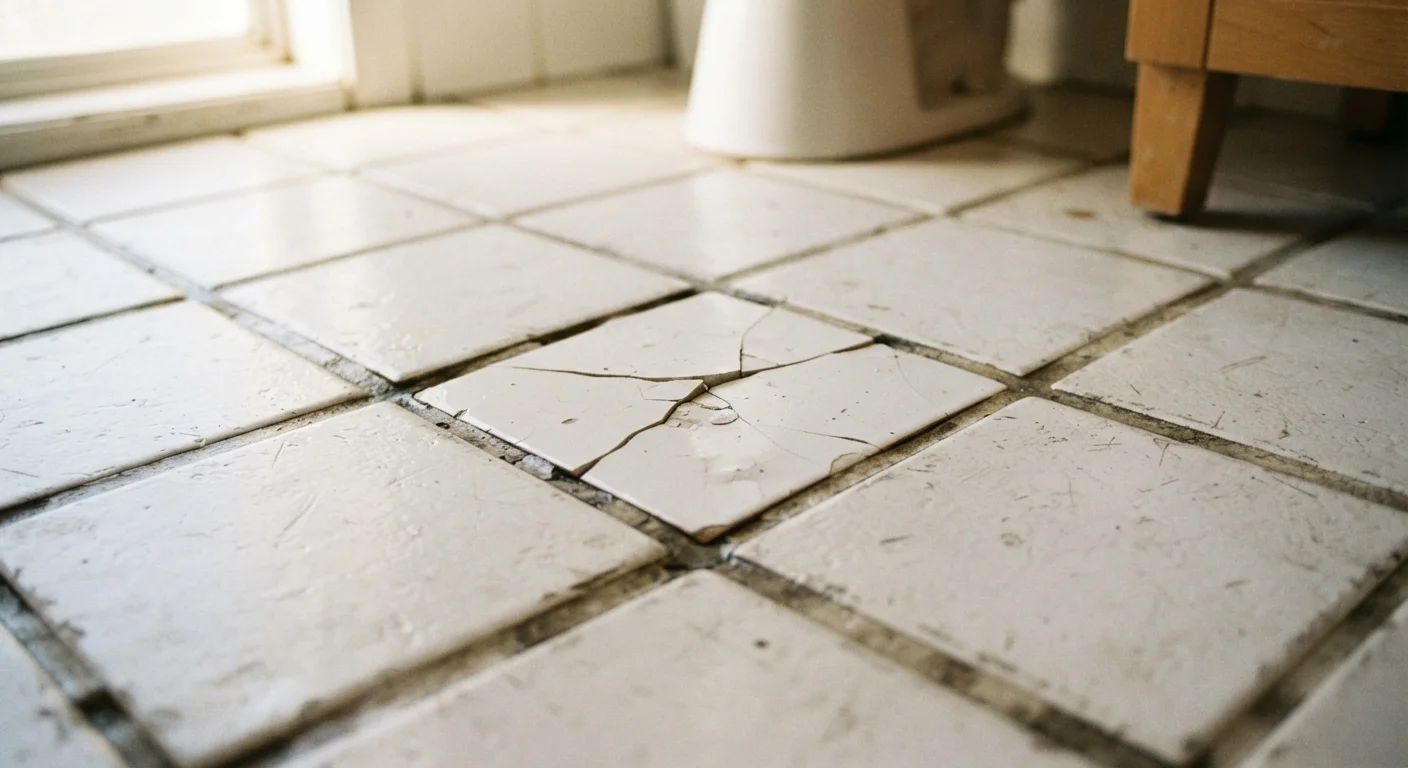
Tile lines get discontinued regularly. Manufacturers rotate styles, suppliers change distributors, and what was a standard SKU five years ago may simply no longer exist. When a tile cracks, chips, or comes loose - even just one - homeowners face a dilemma that goes beyond the repair itself: finding a match that no longer ships.
The good news is that a missing exact match rarely means starting over. Understanding your options before reaching for a sledgehammer can save both money and a floor that's otherwise in fine shape. This guide walks through a practical decision process, from sourcing attempts to creative alternatives, so you can move forward with confidence.
Before exploring alternatives, it helps to understand the nature of your repair. Is this a cosmetic surface crack, or has the tile fully separated from the substrate? See our guide on temporary vs. permanent repair approaches to help decide how urgent and thorough your fix needs to be.
Tools and Materials You'll Need
Having the right tools on hand before you start will make the process considerably smoother, regardless of which repair approach you choose.
Grout saw or oscillating multi-tool with grout blade
Removes existing grout from joints surrounding the damaged tile without disturbing adjacent tiles.
Cold chisel and hammer
Breaks out the damaged tile from the substrate after grout is removed.
Notched trowel
Spreads thinset mortar evenly on the substrate for proper tile adhesion.
Tile spacers
Maintains consistent grout joint width to match the surrounding tile layout.
Grout float
Presses grout into joints and removes excess from the tile surface.
Putty knife or margin trowel
Scrapes residual thinset or adhesive from the substrate after tile removal.
Painter's tape
Protects the surface of adjacent tiles during chiseling and grouting.
What you will need
Step-by-Step: Repairing Tile When You Can't Find an Exact Match
Document the Existing Tile Before Anything Else
Before removing the damaged tile, photograph it thoroughly - top surface, edges, and any manufacturer markings on the back. Note the tile's dimensions, thickness, finish (matte, satin, glazed), and any visible pattern or texture. Check closets, utility rooms, or under appliances for leftover tiles from the original installation. Builders and previous owners sometimes store extras.
Search for the Discontinued Tile Through Secondary Sources
Run the manufacturer name, series name, or any visible product code through a web search. Check:
- Architectural salvage yards - especially useful for vintage or classic styles
- Online resale platforms - homeowners selling leftover boxes frequently list discontinued tile
- Tile contractor surplus networks - some contractors hold overstock from completed projects
- Manufacturer directly - some lines are discontinued domestically but still produced or held in warehouse stock
Even a single box may be enough for a one- or two-tile repair.
Remove the Damaged Tile Carefully
Score the grout lines around the damaged tile using a grout saw or oscillating tool fitted with a grout removal blade. Work slowly to avoid chipping adjacent tiles. Once the grout is cleared, use a chisel and hammer to break the damaged tile from the center outward - never pry from an edge, which risks cracking neighbors. Remove all adhesive or thinset from the substrate and allow it to dry completely before proceeding.
Prep the Substrate and Set the New Tile
Inspect the exposed substrate for cracks, soft spots, or moisture damage. A sound substrate is the foundation of any lasting tile repair. Apply the appropriate thinset mortar for your tile type using a notched trowel, then back-butter the replacement tile as well for full coverage. Set the tile, press firmly, and use spacers to maintain consistent grout joints. Allow the thinset to cure fully - typically 24 hours - before grouting.
Match and Apply Grout to Blend the Repair
Grout color has an outsized effect on how noticeable a repair looks. Bring a sample of the existing grout - or a photograph taken in natural light - to a tile supply store and compare against grout color chips. Mix a small test batch if possible and let it dry fully before committing, since wet grout appears several shades darker than cured grout. Apply with a grout float, work at a diagonal to the joints, and wipe excess with a damp sponge in stages.
Dry-Fit Before You Commit
Always dry-fit the replacement tile in the opening before spreading any thinset. This lets you confirm the fit, check for thickness alignment with adjacent tiles, and make adjustments without time pressure. A tile that sits proud - higher than the surrounding field - is a safety and aesthetic problem that's much easier to address before mortar is involved.
Don't Skip the Substrate Inspection
A cracked or loose tile is sometimes a symptom of a failing substrate beneath it - water damage, flexing subfloor, or crumbling mortar bed. Setting a new tile over a compromised substrate nearly guarantees it will fail again. If the substrate feels soft, spongy, or shows signs of moisture damage, address that problem first before installing any replacement tile.
When Matching Isn't Possible: Design-Forward Solutions
If sourcing genuinely fails, the most durable path forward is often an intentional design decision rather than a forced near-match. A near-match tile that's slightly off in tone or sheen can look like a mistake; a deliberately contrasting tile, used consistently, reads as a choice.
Feature Tile Replacement
Replace the damaged tile with a complementary accent tile - a solid color that picks up a secondary tone in the surrounding field tile, or a simple geometric that contrasts cleanly. If one tile is being replaced, consider replacing a small cluster in a deliberate pattern, such as a diamond grouping, so the repair anchors itself visually rather than floating awkwardly.
Zone or Section Replacement
In some layouts - particularly bathroom floors with a border or kitchen backsplashes with natural break points - replacing an entire section or zone with new tile is more cohesive than patching. This approach works especially well when the damage is near a wall, a transition strip, or a natural grout line that can serve as a dividing edge.
Whatever approach you use, grout is often the overlooked variable. Getting the grout color right dramatically affects how blended or obvious a repair looks. Our guide on grout vs. caulk for tile work covers how to select and apply joint filler correctly, which is especially important at transitions and corners.
Near-Matches Often Look Worse Than Clear Contrasts
A replacement tile that's 90% similar to the original will almost always read as a mistake to the eye, because viewers instinctively compare it to the surrounding field. A tile that is clearly and deliberately different - in color, material, or shape - reads as intentional. If sourcing has failed, lean into contrast rather than chasing an imperfect resemblance. Discuss any significant design change with others in your household before committing.