

Key Takeaways
- A mudroom can be created from an existing entryway, a closet conversion, or a new bump-out addition.
- The core functional elements are storage hooks, a bench, shoe containment, and durable flooring.
- Permits and contractor involvement are typically required for structural additions or electrical work.
- Even a modest conversion in a tight entry can meaningfully reduce daily clutter and floor damage.
- Planning for your household's actual habits - gear, pets, kids - determines which features deliver real value.
What you will need
Why a Mudroom Makes a Meaningful Difference
A mudroom - even a modest one - acts as a buffer zone between the outdoors and your living areas. It gives dirt, wet gear, and outerwear a designated place to land rather than spreading through the home. Floors last longer, living rooms stay cleaner, and mornings run more smoothly when coats, shoes, and backpacks have an assigned home near the door.
The concept scales widely. A full-scale mudroom addition with custom cabinetry and a laundry connection is one end of the spectrum; a 4-foot-wide entry alcove outfitted with a bench and three hooks is the other. Both serve the same core purpose. If you are also considering improvements to adjacent high-use spaces, the laundry room upgrades guide covers complementary improvements that often pair well with a mudroom conversion.
Match Storage to Your Household's Real Habits
Before buying any organizers or building any cubbies, spend a week observing what actually lands in your entryway - shoes, sports equipment, pet leashes, backpacks. Designing around observed behavior rather than idealized habits produces a mudroom that genuinely stays organized over time.
For larger structural projects - like converting a garage entry or adding an exterior bump-out - understanding the full scope of conversion work is essential. Our garage conversion overview outlines what that process involves for similar projects.
What You Will Need Before You Start
Successful mudroom projects begin with honest assessment - of the space, the budget, and the household's actual storage needs. Gather your measurements and a rough wish list before pricing anything out.
What you will need
Tape measure
Used to accurately dimension the available entry space before planning storage layouts or ordering materials.
Stud finder
Locates wall studs so hooks, shelving brackets, and bench supports are anchored securely.
Drill and driver bits
Required for installing hooks, mounting shelf brackets, and assembling modular storage units.
Level
Ensures shelves, hooks, and bench components are installed straight and plumb.
Tile saw or wet saw
Needed if you are cutting ceramic or porcelain tile to fit the entry floor area.
Modular cubby or locker system
Provides pre-built, adjustable storage compartments that can be configured for the available wall space.
Structural Work Requires Professional Oversight
If your mudroom plan involves bumping out an exterior wall, adding a new doorway, or relocating electrical outlets, these tasks typically require permits and licensed contractors. Work that bypasses local building codes can create liability issues, void homeowner's insurance, and cause safety hazards. Always verify permit requirements with your local building department before breaking ground.
Step-by-Step: Building or Converting Your Mudroom
Assess the Available Space and Define the Scope
Walk through every entryway in your home - front door, side entry, garage door - and identify which sees the most daily foot traffic. Measure the width, depth, and ceiling height of the target area. Note the locations of existing light switches, outlets, and any HVAC registers that could affect furniture placement.
Decide whether you are working with an existing entry alcove, converting a nearby closet, or planning a structural addition. Each has different cost, time, and permit implications. A closet conversion is typically the fastest and least expensive route; a bump-out addition offers the most flexibility but requires the most planning.
Plan the Core Functional Zones
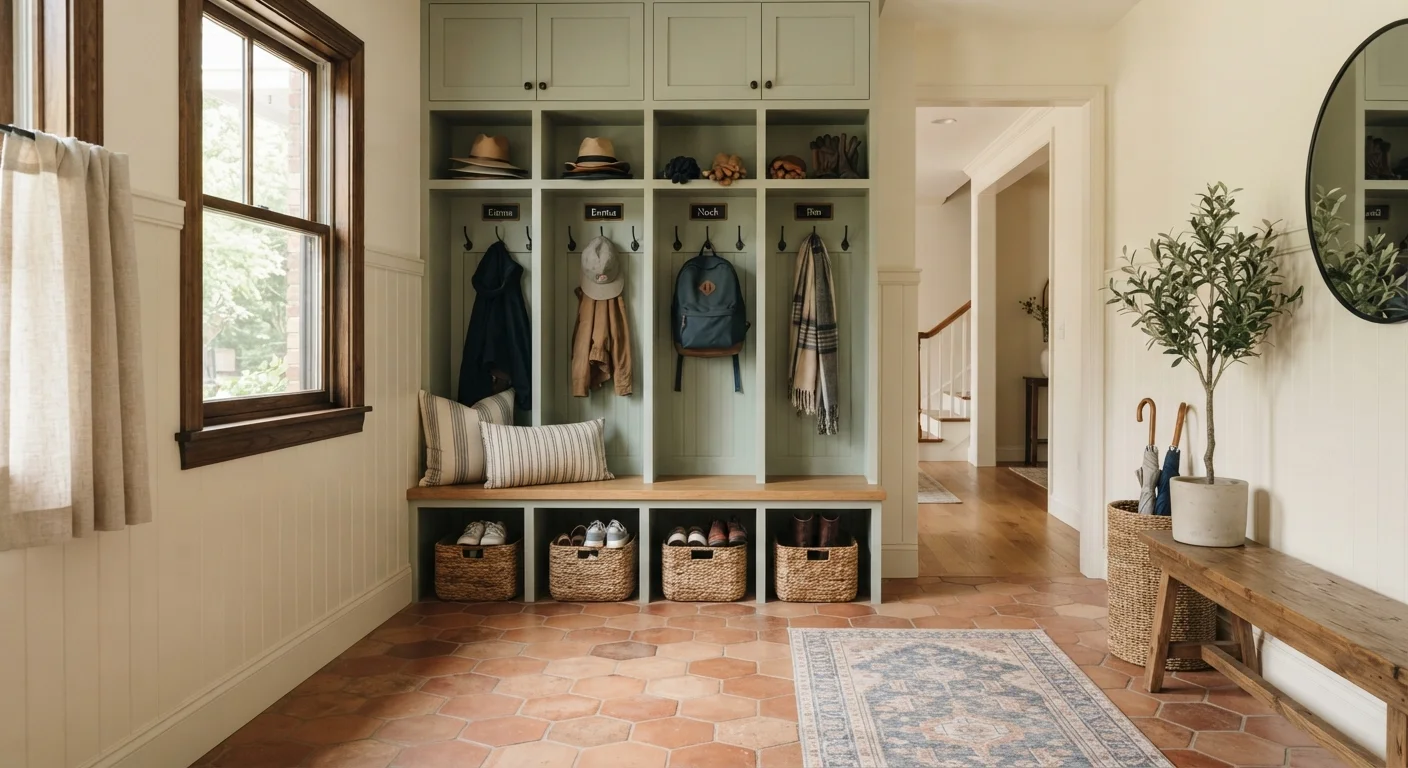
An effective mudroom addresses four basic functions: hanging (coats, bags, keys), sitting (to put on and remove shoes), shoe containment, and surface storage (shelf for hats, a spot for mail or a charging station). Not every space can fit all four - prioritize based on your household's habits.
For families with children, individual labeled cubbies tend to work better than shared open shelving. For households with dogs, a low hook for leashes and a mat zone near the door reduces tracked mud. Plan zones in rough wall sections before selecting specific products.
Select Durable, Moisture-Appropriate Materials
Flooring is the most critical material decision. Porcelain tile, luxury vinyl plank rated for wet areas, and sealed concrete are all practical choices. Avoid unfinished hardwood or carpet in the immediate entry zone - both absorb moisture and are difficult to clean thoroughly.
For walls, semi-gloss or satin-finish paint resists scuffs and can be wiped down. Beadboard paneling (wood or PVC) adds character and is easy to clean. Storage components should be solid or plywood-core rather than particleboard, which degrades quickly when repeatedly exposed to humidity.
Install Flooring Before Any Built-Ins
If you are replacing the floor, complete that work before installing benches or cabinets. Tile or vinyl plank should run under - or at least flush with - the base of any built-in unit so the finished look is clean and future removal is possible without destroying the floor.
Follow the manufacturer's instructions for subfloor preparation, adhesive, and grout curing times. For tile in a cold-climate entry, consider uncoupling membrane underlayment to reduce cracking from temperature fluctuation near exterior doors.
Mount Hooks, Shelving, and the Bench
Locate studs using a stud finder before drilling. Hooks and upper shelving carry the most weight and should be fastened into studs or with appropriate toggle anchors rated for the expected load. A standard coat hook placement is 60-66 inches from the floor for adults; add a lower row at 42-48 inches for children.
If installing a built-in bench, anchor the back panel to the wall and level the seat before securing. Benches with interior storage (lift-top or drawer style) are especially useful in compact entries where floor space is limited. See our guide to storage system tradeoffs for help evaluating modular versus custom approaches.
Add Lighting and Finishing Touches
Entryways are often dim. If an existing overhead fixture is adequate, consider replacing the bulb with a higher-lumen option. If you need a new fixture or want to add a switched outlet for a small lamp, hire a licensed electrician - this work is permitted in most jurisdictions.
Finish with a washable rug or mat inside the entry (in addition to a scraper mat outside), a small mirror to check appearance before leaving, and labeled hooks or baskets to help household members maintain the system. A well-designed mudroom is one of the higher-return-on-daily-use improvements you can make; for a broader view of where entry upgrades fit in your home, see our room-by-room upgrade priority guide.
Moisture Is a Hidden Risk in Entry Spaces
Entryways accumulate wet boots, umbrellas, and damp outerwear. Without moisture-resistant flooring and adequate ventilation, mold and subfloor damage can follow. Choose materials rated for high-humidity or wet-entry conditions, and consider a small exhaust fan or operable window if the space lacks natural airflow.