

Key Takeaways
- Wiring compatibility - especially the C-wire - is the most common installation obstacle homeowners face.
- Your HVAC system type determines which smart thermostats will actually work in your home.
- Always shut off power at the breaker before touching any thermostat wiring.
- Most smart thermostats require a stable Wi-Fi connection and a smartphone app to complete setup.
- Some HVAC configurations, including certain heat pumps and multi-stage systems, may require professional installation.
What you will need
Before You Touch Anything: Know Your System
Smart thermostat installation sounds straightforward - pull off the old unit, attach the new one, connect to Wi-Fi. In many cases it is. But the step that trips up most homeowners happens before any tools come out: understanding whether their HVAC system is actually compatible.
Start by identifying your heating and cooling setup. Conventional forced-air systems (gas furnace plus central AC) are the most widely compatible. Heat pumps operate differently and often require thermostats specifically rated for heat-pump configurations, including systems that use auxiliary or emergency heat strips. Radiant heating systems and electric baseboard heaters are generally not compatible with most smart thermostats at all.
Next, check whether your system has a C-wire (common wire). This wire provides continuous 24V power to the thermostat - power that older mechanical thermostats didn't need but smart thermostats almost universally do. Without it, many smart thermostats won't function reliably, or won't function at all. Some manufacturers offer adapter kits or power-stealing workarounds, but results vary depending on the HVAC system.
What you will need
Tools and What You'll Need
Gather everything before you begin. Having the right materials on hand prevents mid-project trips and keeps the job moving safely.
Flathead and Phillips screwdrivers
Used to remove the old thermostat from its wall plate and secure the new mounting plate.
Voltage tester or non-contact tester
Confirms that power is fully off at the thermostat wires before you handle them.
Smartphone with thermostat app installed
Required to complete Wi-Fi pairing and system configuration after mounting.
Masking tape and marker
Used to label each wire before disconnecting from the old thermostat to avoid confusion during reinstallation.
Drill and wall anchors
Needed if the new mounting plate's screw holes don't align with the existing wall holes.
C-wire adapter kit
Provides the continuous power circuit that smart thermostats need when no C-wire exists in the current wiring.
If you're newer to connected devices in general, reviewing what to check before setting up any new smart device is a useful starting point - it covers Wi-Fi requirements, app account setup, and firmware considerations that apply here too.
Step-by-Step Installation
Follow these steps carefully. The electrical work involved is low-voltage and generally safe when the power is off, but skipping the shutoff step is never acceptable.
Shut Off Power at the Breaker
Go to your electrical panel and turn off the circuit labeled for your furnace, air handler, or HVAC system. Do not rely on the thermostat's own power switch. After switching the breaker off, use a non-contact voltage tester at the thermostat wires to confirm no current is present before proceeding.
Remove the Old Thermostat and Label the Wires
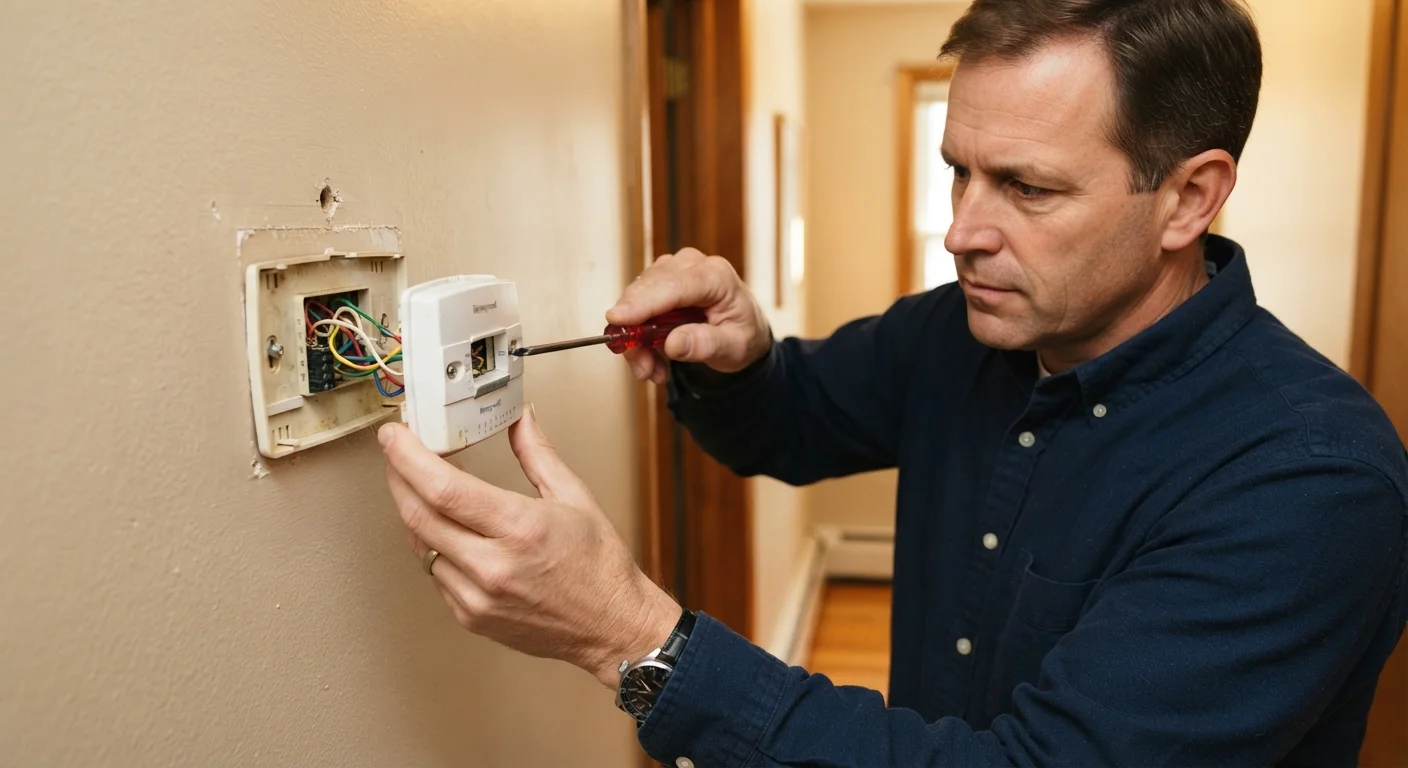
Remove the thermostat cover, then unscrew the base plate from the wall. Before disconnecting any wires, use masking tape and a marker to label each wire with the terminal letter it's connected to (R, G, Y, W, C, etc.). Take a photo as a backup reference. Then carefully disconnect each wire and pull the old base plate away from the wall.
Check for and Address the C-Wire
Look at the wires you've just exposed. If you see a wire connected to the terminal labeled C, you have a C-wire - note its color and keep it available. If no C-wire is present, check whether there are unused wires bundled inside the wall cavity; one of these can sometimes be repurposed as a C-wire. If no spare wire exists, consult your thermostat's documentation about adapter options or consider having an HVAC technician run a new wire.
Mount the New Base Plate and Connect the Wires
Thread your labeled wires through the new base plate's center opening and hold the plate level against the wall. Mark the screw hole positions, drill if needed, and secure the plate. Then connect each labeled wire to the corresponding terminal on the new thermostat base, following the manufacturer's wiring diagram. Tighten each terminal screw firmly so wires won't pull free.
Attach the Thermostat Display and Restore Power
Snap or slide the thermostat display unit onto the mounted base plate according to the manufacturer's instructions. Return to the electrical panel and switch the HVAC circuit back on. The thermostat should power up within a few seconds. If it doesn't, recheck that the display is fully seated and that the breaker is on.
Complete App Setup and System Configuration
Open the manufacturer's app on your smartphone and follow the in-app prompts to connect the thermostat to your Wi-Fi network and configure your HVAC equipment type. The app will typically ask whether you have heating only, cooling only, or both, and may ask about stages (single-stage vs. two-stage systems). Answer accurately - incorrect configuration can cause your system to run improperly. Test heating and cooling modes before considering the job complete.
When to Call an HVAC Professional
Some HVAC configurations - including dual-fuel systems, multi-stage heat pumps, and systems with complex zoning - involve wiring that goes beyond a standard thermostat swap. If your existing thermostat has more than five or six wires, or if you're unsure how to interpret the terminal labels, stop and consult a licensed HVAC technician. Incorrect wiring can damage your HVAC control board, which is a costly repair.
After Installation: Setup and What to Expect
Once the thermostat is mounted and powered on, the on-screen prompts or companion app will guide you through system configuration - confirming the equipment type, setting your heating and cooling thresholds, and connecting to your home's Wi-Fi network. This part typically takes 10-20 minutes.
Most smart thermostats offer scheduling, geofencing (adjusting temperature based on your phone's location), and energy usage reports. These features are worth setting up deliberately rather than leaving at defaults - proper scheduling is where most of the practical benefit comes from.
For a broader look at how these devices fit into a connected home, see our explainer on smart home upgrades. And if you want to compound the efficiency gains from your new thermostat, attic insulation is consistently one of the most impactful complements you can add.
Maximize Efficiency With Scheduling
Smart thermostats deliver the most practical benefit when their scheduling features are configured to match your actual routine - not left at factory defaults. Spend 10 minutes in the app setting weekday and weekend schedules. Paired with good home insulation, deliberate scheduling can meaningfully reduce how hard your HVAC system has to work.