

Key Takeaways
- Fixture sizing and placement decisions have the biggest impact in small bathrooms.
- Vertical storage and recessed niches recover usable space without expanding the footprint.
- Lighting and mirror choices can visually expand a cramped room at relatively low cost.
- Some upgrades - especially plumbing and electrical work - require licensed professionals and permits.
- Prioritizing one or two high-impact changes often delivers more satisfaction than tackling everything at once.
What you will need
Why Small Bathrooms Demand Different Thinking
A small bathroom - typically defined as under 50 square feet - doesn't give you room to make mistakes. Every fixture, every storage solution, and every design decision competes for the same limited footprint. The tradeoffs that barely matter in a larger space become defining choices here.
Before diving into upgrades, it helps to understand which changes are cosmetic (paint, hardware, accessories), which are moderately disruptive (vanity swaps, lighting), and which cross into full renovation territory requiring permits and licensed tradespeople. If you're weighing scope, our guide on refresh versus renovation walks through the key distinctions. For a broader view of where bathrooms fit into your overall upgrade sequence, see room-by-room upgrade priorities.
The steps below focus on decisions you can plan and execute methodically, even if some execution requires hired help.
What you will need
Step-by-Step: Making Smart Upgrades in a Tight Space
Audit the existing layout before changing anything
Measure the room precisely: length, width, ceiling height, door swing radius, and the locations of existing plumbing rough-ins (drain, supply lines) and electrical outlets. Sketch it to scale on paper or use a free room-planning tool. Note what bothers you most - inadequate storage, poor lighting, cramped entry - and rank those problems. Upgrade decisions become much clearer when you know your actual constraints.
Decide whether the layout stays or changes
Moving plumbing is expensive and almost always requires permits and a licensed plumber. Unless the current layout is genuinely dysfunctional, keeping drains and supply lines where they are is the most cost-effective approach. If you're considering a layout change, get at least two quotes from licensed plumbers and factor permit costs and inspection timelines into your schedule before committing.
Choose right-sized fixtures for the actual footprint
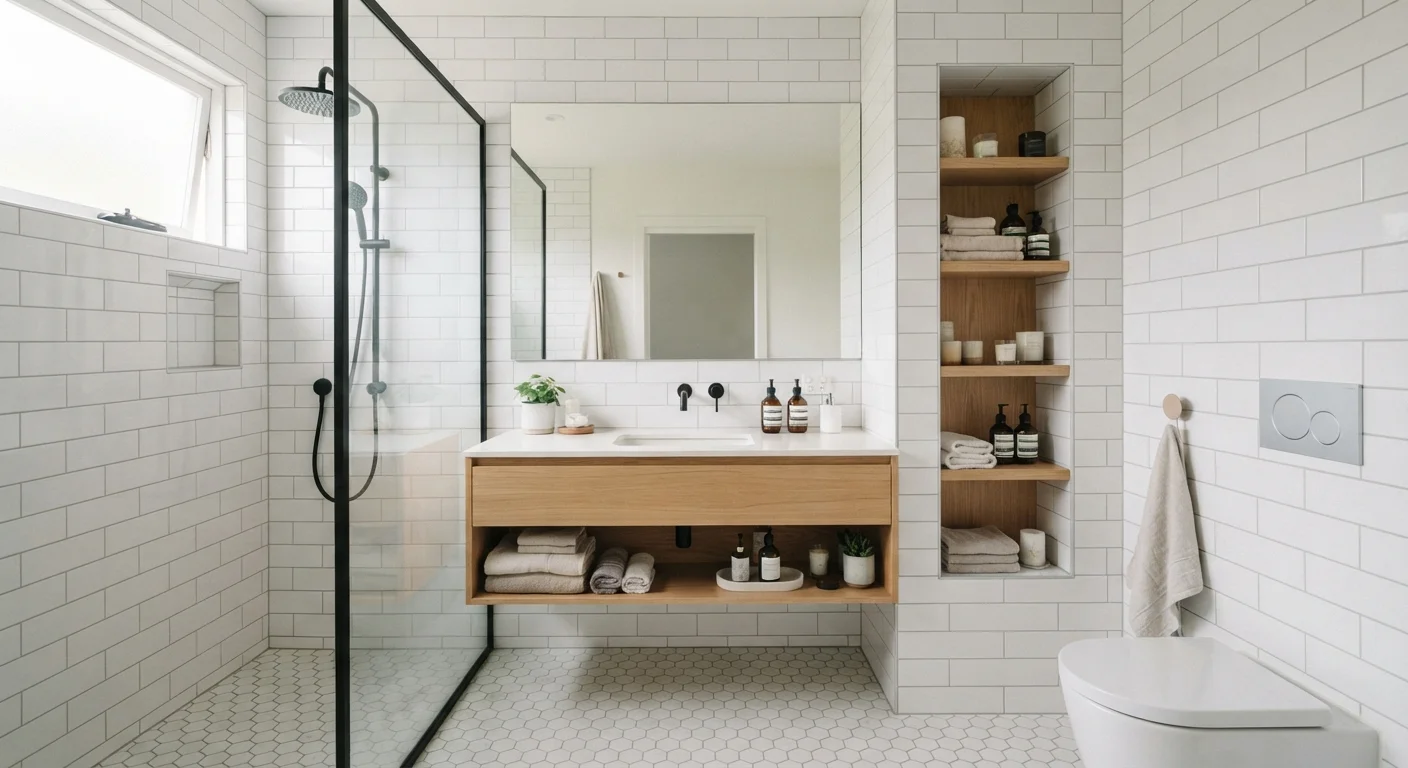
Compact toilets (with a shorter projection from the wall), wall-hung toilets, and corner sinks exist specifically for tight spaces. A floating vanity - one mounted to the wall without floor legs - opens up visual floor area and makes cleaning easier. When selecting a vanity, prioritize depth: a 18-inch-deep cabinet instead of a standard 21-inch can meaningfully improve traffic flow in a narrow room.
Maximize vertical storage instead of floor storage
In small bathrooms, floor space is precious and wall space is underused. Recessed medicine cabinets, tall narrow linen cabinets, and open shelving above the toilet are all ways to gain storage without consuming square footage. Recessed niches in the shower wall (built into the stud cavity) eliminate the need for a hanging caddy. If your storage habits feel chaotic, the planning principles in closet organization systems translate well to bathroom cabinetry decisions.
Upgrade lighting and mirrors strategically
A single overhead fixture is almost always inadequate in a small bathroom. Side-lit or front-lit vanity lighting eliminates shadows on the face and makes the space feel more considered. Replacing a small framed mirror with a large frameless mirror - or a mirrored medicine cabinet spanning the full vanity width - adds perceived depth without touching a single wall. These are among the highest-impact, lowest-disruption upgrades available.
Address surfaces last, not first
Paint, tile, and hardware are the upgrades most people want to start with, but they're most effective after functional decisions are settled. Choose a cohesive color palette that uses light or mid-tones to keep the space feeling open. Large-format tiles (with fewer grout lines) can make a floor appear larger. Consistent tile from floor to shower wall removes visual breaks that make a room feel choppy. Once surfaces are updated, swap out dated hardware - towel bars, toilet paper holders, robe hooks - in a matching finish for a unified result.
Small Changes, Outsized Visual Impact
Replacing a builder-grade light fixture, adding a large mirror, and painting walls a consistent light tone can transform the perceived size of a bathroom for a fraction of the cost of a fixture swap. If your budget is limited, prioritize these surface-level changes first and plan structural upgrades for a later phase.
Common Pitfalls and Tradeoffs to Anticipate
Small bathroom projects frequently stall or disappoint for predictable reasons. Understanding these in advance helps you plan more realistically.
- Oversized fixtures: A standard 30-inch vanity in a 5×7 bathroom can block traffic flow. Always mock up dimensions with tape on the floor before ordering anything.
- Ignoring ventilation: Upgrading surfaces without improving airflow leads to mold and premature deterioration. If your bathroom lacks an exhaust fan or has an undersized one, address it early - this work typically involves electrical and may require a permit.
- Underestimating tile scope: Retiling a shower surround is labor-intensive and often uncovers waterproofing issues behind old tile. Budget time and money for surprises.
- Skipping accessibility planning: If anyone in the household has mobility considerations now or may in the future, aging-in-place upgrades like grab bars and comfort-height toilets are easier to incorporate during a project than to retrofit later.
Electrical Work Requires a Licensed Electrician
Adding outlets, installing exhaust fans, or running new circuits in a bathroom involves code-regulated work in a wet environment. This is not a DIY task for most homeowners. Hire a licensed electrician, pull the required permits, and have the work inspected. Skipping this step creates both safety hazards and potential liability issues.
Finally, drainage problems should be resolved before cosmetic work begins. A slow drain that becomes a clog after new tile is installed is a much bigger headache to fix. Clearing a slow drain manually is a manageable pre-project task most homeowners can handle themselves.