

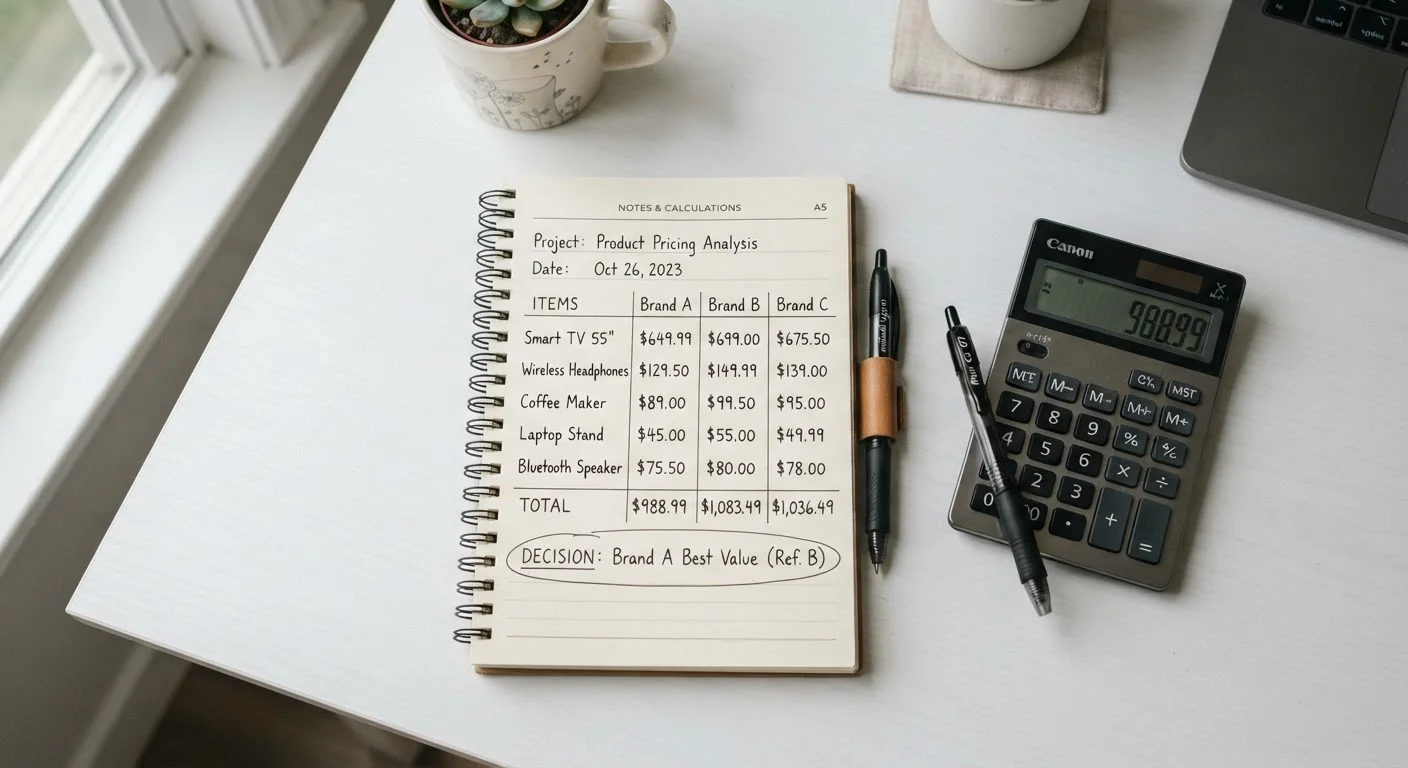
Key Takeaways
- The lowest sticker price is rarely the full cost - shipping, taxes, and fees change the real total.
- Identical-looking products from different sellers often differ in warranty terms, fulfillment source, or included accessories.
- A systematic checklist approach prevents emotional or impulsive comparisons that lead to buyer's remorse.
- Price alone is not value - factoring in return policies and seller reliability completes the picture.
What you will need
Why Most Price Comparisons Fall Short
Most shoppers treat price comparison as a simple exercise: find the same item on three sites, pick the lowest number. In practice, that approach frequently produces worse outcomes than no comparison at all, because it creates false confidence around an incomplete data set.
The core problem is that prices are never shown in a vacuum that's equivalent across sellers. Shipping costs, tax collection practices, fulfilled-by policies, warranty sources, and return windows all affect the real cost and risk of a purchase. Ignoring those variables means you're not actually comparing the same thing - you're comparing labels on different packages.
For a broader look at how promotional framing can distort your perception of value before you even start comparing, see how sale prices can obscure actual savings. Understanding that context makes your comparisons sharper from the start.
Define Your Priorities Before Comparing
Before you open any listings, decide which factors matter most to you for this specific purchase: speed of delivery, return flexibility, warranty coverage, or total cost. Different purchases warrant different weightings. Setting this priority order in advance prevents you from rationalizing a decision after the fact.
What You Need Before You Start
Effective price comparison requires a defined scope before you open a single tab. Without it, you'll end up comparing a grey-market import with a full domestic retail unit - and never realize it.
What you will need
Once you've confirmed these elements, you're ready to build a consistent comparison across sellers rather than reacting to whichever listing catches your eye first.
Step-by-Step: Building a Meaningful Price Comparison
Follow these steps in order. Skipping ahead - especially to the final number - is where most comparison mistakes happen.
Lock in the exact product specification
Confirm you're looking at identical units: same model number, same generation, same configuration. Sellers routinely list similar-but-not-identical items under nearly identical names. Check the manufacturer's site to establish the canonical specification, then verify each listing matches it before including it in your comparison.
Calculate the fully landed cost for each seller
Add shipping fees, applicable taxes, and any required accessories or installation costs to the listed price. Record this as your comparison figure - not the sticker price. Many lower-priced listings offset their headline number with shipping charges that close or reverse the gap.
Verify the warranty and return terms for each listing
Confirm whether the warranty is fulfilled by the manufacturer or the seller, and what the return window is. A lower price that comes with a seller-only warranty (versus a manufacturer warranty) or a no-returns policy carries real financial risk that should be weighed into the comparison.
Assess seller reliability independently
Look at the seller's fulfillment track record, not just their rating average. Check for patterns in negative reviews: late shipping, wrong items, or poor return follow-through are more meaningful signals than an aggregate star count. For marketplace sellers specifically, review the seller's individual feedback rather than the platform's overall reputation.
Record and compare totals side by side
Place your fully landed costs, warranty terms, and seller reliability notes in a single view. Only at this stage does the comparison become meaningful. The seller with the lowest total cost and acceptable terms on the other dimensions is the rational choice - not necessarily the one with the lowest sticker price.
After completing this process, you'll have a realistic total cost for each seller rather than a surface-level price. For more context on how digital and physical channel pricing diverge, online vs. in-store pricing structures are worth understanding before finalizing any purchase decision.
If you're shopping on marketplace platforms specifically, the framework for evaluating marketplace listing quality builds directly on these steps.
Common Pitfalls That Skew Your Results
Even methodical shoppers run into a few consistent traps worth naming explicitly.
- Anchoring to the first price you see. Every subsequent price gets mentally judged against the first, even if that first number was inflated or promotional. Start your comparison fresh.
- Ignoring seller fulfillment source. On marketplace platforms, the same listing can be fulfilled by the retailer, a third party, or shipped internationally - each with different transit times, return processes, and warranty validity.
- Treating price history as predictive. Browser extensions that show price trends are useful for context, but past pricing doesn't guarantee future movement. Price history tools have real limitations that shoppers should factor in before waiting for a drop that may not come.
- Over-weighting speed. Urgency - real or manufactured - compresses decision-making. If a meaningful purchase genuinely requires careful comparison, build in the time to do it.
Artificial Urgency Distorts Comparisons
Countdown timers, "only X left" indicators, and flash-sale framing are designed to compress your decision window. These signals are not reliable indicators of genuine scarcity or pricing. If you find yourself rushing through your comparison process because of on-page urgency cues, pause - the comparison itself is more protective than the speed of the decision.
For those newer to using comparison tools in general, an introduction to how price comparison tools work provides helpful grounding before relying on them heavily.