

Key Takeaways
- Plan lighting in three layers: path/safety lighting, accent lighting, and task or security lighting.
- Low-voltage (12V) landscape systems are DIY-friendly; line-voltage (120V) work requires a licensed electrician.
- Fixture spacing along pathways should typically fall every 8-10 feet to avoid dark gaps or glare.
- Uplighting trees and architectural features adds depth without requiring many fixtures.
- Always check local codes and HOA rules before installing permanent outdoor wiring.
What you will need
Why Lighting Layout Matters Before You Buy a Single Fixture
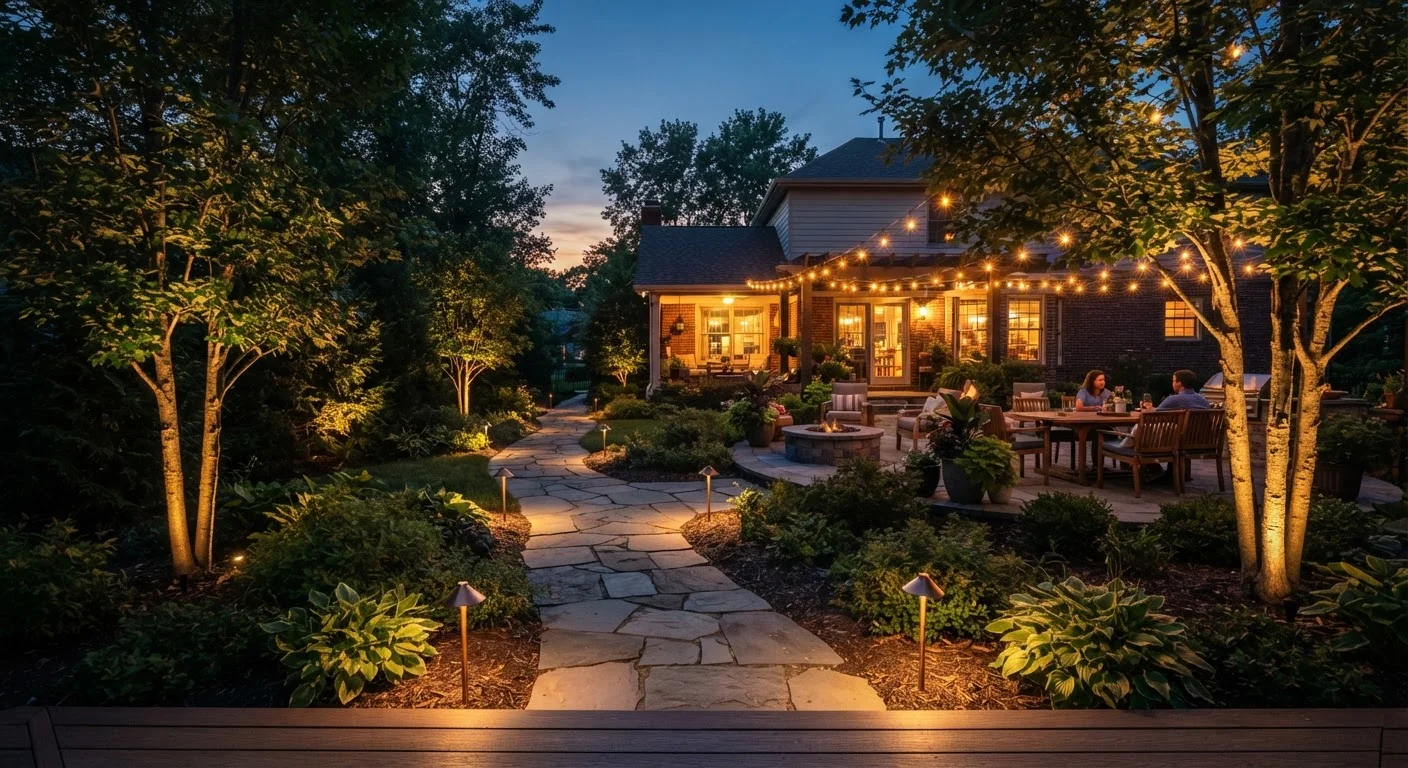
Most homeowners approach outdoor lighting backward - they pick fixtures they like, then figure out where to put them. A layout-first approach produces a yard that feels cohesive, avoids overlighting some zones while leaving others dangerously dark, and makes wiring runs far easier to plan. Think of your outdoor space as having three distinct lighting layers that should work together: safety and wayfinding lighting (paths, steps, driveways), accent and ambiance lighting (trees, garden beds, architectural details), and task or security lighting (entry points, work areas, motion-triggered zones).
Before sketching anything, walk your property after dark and note where you feel uncertain about footing, where guests pause looking for a path, and which features disappear into shadow. That honest assessment is your design brief. For broader context on how lighting integrates with the rest of your outdoor plan, see our article on balancing hardscape and softscape elements - lighting reveals both equally.
What you will need
Choosing Your System: Low-Voltage vs. Line-Voltage
The single most consequential decision in outdoor lighting is voltage. Low-voltage systems (12V DC) run off a plug-in transformer and are the right choice for most decorative and pathway applications. They're safe to handle, easy to reconfigure, and widely available at home improvement stores. A typical transformer supports a wired run of up to 100-150 feet and a combined fixture load specified on the unit - always check the transformer's wattage capacity before adding more lights to a run.
Line-voltage systems (120V AC) power brighter security fixtures, floodlights, and outdoor outlets, but any new wiring, junction boxes, or panel connections must be handled by a licensed electrician under permit in most jurisdictions. Do not attempt to splice into existing line-voltage outdoor circuits yourself unless you hold the appropriate license. For an overview of how electrical planning fits into larger outdoor projects, our outdoor kitchen planning guide covers utility considerations in detail.
Low-voltage landscape transformer
Converts standard 120V outlet power to 12V DC to run pathway and accent fixtures safely.
Low-voltage landscape wire (12-16 AWG)
Carries power from the transformer to each fixture along buried or surface runs.
Wire stripper and connectors
Used to make secure, weatherproof tap connections at each fixture location.
Trenching spade or flat-blade edger
Cuts a shallow trench (3-6 inches) to bury cable along planting bed edges and lawn areas.
Measuring tape and marking flags
Confirms fixture spacing and marks planned locations before you dig or drive stakes.
Multimeter
Verifies voltage at the end of a long wire run to confirm fixtures will receive adequate power.
Step-by-Step: Planning and Installing Your Lighting Layout
Follow these steps in order. Rushing the planning phase is the most common reason homeowners end up with dark gaps, over-lit spots, or cable runs that cross foot-traffic areas awkwardly.
Draw a scaled layout of your yard
On graph paper or a free digital tool, sketch your property to scale. Mark the house footprint, driveway, all paths, planting beds, trees, and gathering areas. Note existing outdoor outlets. This drawing becomes your wiring plan - cable runs should follow bed edges, not cross open lawn where possible.
Assign each zone to a lighting layer
Label each area of your sketch with its primary lighting need: wayfinding (path lights), accent (uplights, downlights), or security (motion flood). Zones can overlap - a driveway may need both path and security coverage - but having clear labels keeps your fixture count and transformer load realistic.
Calculate fixture count and transformer load
Add up the wattage of all planned fixtures. Your transformer's rated wattage should exceed that total by at least 20% to avoid overloading it and shortening bulb life. For LED fixtures, this is rarely a constraint - a typical 12-fixture low-voltage LED system may draw fewer than 60 watts total.
Mark and space pathway fixtures
Drive temporary stakes at each planned fixture location. For path lights, space stakes every 8-10 feet on alternating sides of the path (staggered, not paired) to create even illumination without a runway effect. Step lights should appear at every level change - never leave a step unlit.
Plan and bury cable runs
Run landscape wire from the transformer location to each fixture zone, following bed edges. For low-voltage cable, a burial depth of 3-6 inches is standard practice, though local codes may specify otherwise - verify before digging. Where wire must cross a hardscape surface, sleeve it inside rigid conduit for protection.
Connect fixtures and test before finalizing
Make tap connections at each fixture using the manufacturer's waterproof connectors. Power on the transformer and walk the yard in darkness to evaluate actual light coverage. Adjust fixture angles and stakes as needed before backfilling trenches or driving stakes permanently into final positions.
Set timers or smart controls
Most low-voltage transformers include a built-in timer; smart models connect to Wi-Fi apps. Program path and accent lights to activate at dusk and turn off by midnight or later, depending on your use. Set security and motion lights on a separate schedule or trigger to conserve energy while maintaining coverage when needed.
Line-Voltage Work Requires a Licensed Electrician
Installing or modifying 120V outdoor circuits - including floodlights wired to a junction box, new GFCI outlets, or any connection at the breaker panel - is regulated work in most US jurisdictions and typically requires both a permit and a licensed electrician. Unpermitted electrical work can affect homeowner's insurance coverage and create liability if a fire or injury results. Always verify local requirements before starting.
Ambiance Techniques That Don't Require Extra Fixtures
More fixtures don't always mean better results. Some of the most effective ambiance improvements come from smarter use of what you already have - or plan to install. Uplighting a single mature tree creates dramatic shadows and visual depth across a wide area of the yard. Downlighting from a pergola or tree canopy (sometimes called moonlighting) produces soft, natural-feeling pools of light below. Warm color temperatures - typically 2700K to 3000K - read as inviting and residential; cooler temperatures above 4000K suit security fixtures but feel clinical in entertaining spaces.
Dimmer-compatible transformers and smart controllers let you set different scenes for entertaining versus everyday use without changing a single fixture. If you're designing a full outdoor entertaining area, our article on outdoor entertaining layout principles explains how lighting zones should align with furniture placement and sightlines. For a deeper look at fixture types and energy tradeoffs, see outdoor lighting upgrade considerations.
Keep a Lighting Map for Future Reference
Once installation is complete, update your sketch to show the actual cable run paths and transformer zone assignments. Store this with your home maintenance records. When you add plantings or landscape features later, you'll know exactly where buried cable runs so you can avoid cutting through them.