

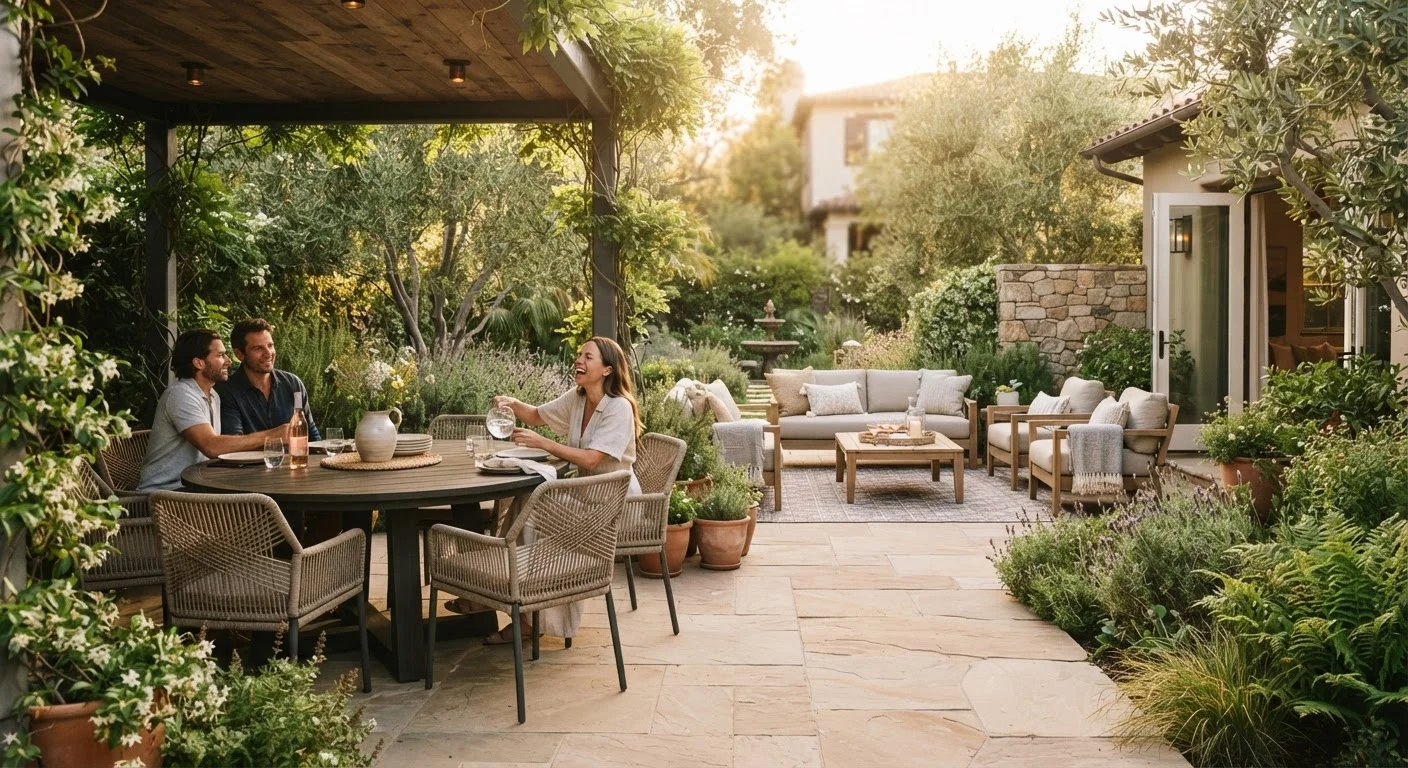
Key Takeaways
- Plan at least 36 inches of clear pathway width for comfortable guest circulation between zones.
- Separate seating, dining, and cooking zones by function to reduce congestion during gatherings.
- Sight lines to the yard, grill, and entry points make outdoor spaces feel more open and manageable.
- Measure your space and map zones on paper before purchasing or moving any furniture.
- Consider sun orientation and shade position when deciding where dining and lounge zones sit.
What you will need
Why Layout Planning Matters Before Furniture Shopping
Most outdoor entertaining problems - crowded pathways, guests clustering at one end of the patio, grill smoke drifting into conversation areas - trace back to layout decisions made without a clear plan. Spatial planning is a discipline borrowed from interior design and landscape architecture, and its principles translate directly to a backyard patio or deck.
The three pillars of a well-functioning outdoor space are circulation (how people move through and between areas), furniture zones (distinct groupings organized by activity), and sight lines (what you and your guests can see from any given spot). When these three elements work together, the space feels intuitive and generous even when it is modestly sized.
Before settling on furniture or surface materials, it helps to understand how your yard's existing conditions shape your options. A methodical site assessment - evaluating grade, sun exposure, drainage, and existing structures - gives you a factual baseline to work from rather than guessing.
What you will need
Mapping Zones, Paths, and Sight Lines: Step by Step
The steps below guide you through laying out an outdoor entertaining space on paper before anything is moved or purchased. Work at whatever scale your yard allows, adjusting zone sizes proportionally.
Measure and sketch your outdoor footprint
Using a tape measure, record the full dimensions of your patio, deck, or yard area. Note fixed elements: doors, steps, downspouts, HVAC units, existing trees. Sketch this to scale on graph paper using a scale such as 1 square = 1 foot. Mark north so sun orientation is clear throughout the planning process.
Identify and mark anchor points
Anchor points are fixed elements that every layout decision must work around: the door from the house, the location of an existing grill or built-in, a large tree providing shade, or a view worth preserving. Circle these on your sketch. They are not negotiable and define the logic of your zone placement.
Define your activity zones
Decide which activities your space needs to support: dining, casual lounging, cooking, play, or some combination. Assign each a rough area on your sketch. A dining zone typically requires a minimum footprint of 10×10 feet to seat six with chairs pulled out. A lounge cluster needs roughly 8×10 feet for a sofa, two chairs, and a coffee table with circulation space.
Keep zones with different noise levels and traffic volumes separated. Cooking zones generate movement and sound; lounge zones benefit from quiet and shade.
Draw circulation paths between zones
On your sketch, draw the likely paths guests will walk: from the door to the dining area, from dining to the grill, from lounging to the lawn. These paths must remain clear of furniture legs, chair backs (when occupied), and planters. Mark a minimum of 36 inches width on primary paths; 48 inches where two people will regularly cross. Adjust zone positions until paths are clear without squeezing furniture.
Check sight lines from each zone
Stand (or imagine standing) at the primary seat position in each zone and ask: What do I see? Can the host at the grill see arriving guests? Can seated guests see children playing on the lawn? Can someone in the lounge zone see into the dining zone for a conversation? Adjust furniture orientation and zone boundaries until sight lines support the social flow you want. Avoid placing tall planters, parasols, or screens where they block key views unless privacy is the deliberate goal.
Verify sun and shade position at peak entertaining times
Check your sketch against your yard's sun orientation. If your primary entertaining time is late afternoon, determine where shade falls then - from the house, trees, or a pergola. Position the dining zone in available shade during eating time. The lounge zone may tolerate afternoon sun if offset by a market umbrella. This step often shifts zones significantly from the initial sketch, so allow time to revise.
Test the layout with temporary markers before committing
Use garden hoses, chalk, or cardboard boxes to mark zone footprints and pathway widths on the actual ground. Walk through the space as if you were a guest arriving, moving to the grill, sitting down, and getting up to refill a drink. This physical test reveals scale problems that paper planning misses - chairs that block steps, tables too close to railings, pathways that feel cramped when occupied.
Furniture Scale Often Surprises Homeowners
Outdoor furniture tends to run larger than indoor equivalents. A six-person dining table with chairs pulled out occupies significantly more floor area than its tabletop dimensions suggest. Always sketch furniture at its occupied size - chair pulled out, umbrella pole radius included - not just its folded or resting dimensions.
Once your layout is finalized, layering in the right outdoor lighting plan reinforces zone boundaries at night and keeps circulation paths safe after dark. Similarly, if your layout includes a cooking zone, reviewing outdoor kitchen clearance and utility requirements before finalizing that zone's footprint can prevent costly repositioning later.
Common Layout Mistakes and How to Avoid Them
Even well-intentioned layouts fall into predictable traps. Understanding these ahead of time saves frustration.
- Pushing furniture to the perimeter: Lining chairs and tables against the edges of a patio tends to create a dead, hollow center rather than a comfortable conversation space. Pull furniture inward to create intimacy and allow circulation to flow naturally around the outside edge.
- Undersizing pathways: A 24-inch gap between a chair back and a wall might look adequate on paper but becomes impassable when the chair is occupied. Use 36 inches as a minimum for primary paths; 48 inches wherever two people may pass simultaneously.
- Ignoring the grill's position relative to seating: Grills produce smoke, heat, and activity. Placing a cooking zone upwind of your primary seating area, or directly adjacent to it without a buffer, creates discomfort. A fire feature or grill sited with clearance in mind functions better and keeps guests more comfortable.
- Neglecting the transition from indoors: The doorway from the house is an anchor point. Guests naturally fan out from it. Orienting your primary zone so it receives guests without blocking the path to other areas makes the space feel welcoming rather than congested.
For the surface itself, balancing hardscape areas against planted softscape buffers also affects how zones feel and how sound carries across the space. Integrating both hardscape and softscape thoughtfully can define zone edges naturally and reduce the visual monotony of large paved areas.
Don't Finalize a Layout Around Unpermitted Structures
If your layout includes a pergola, shade structure, built-in kitchen, or fire feature, verify with your local building or zoning department whether a permit is required before you anchor your plan around that element. Permit requirements vary widely by municipality and structure type. Building without a required permit can complicate home sales and insurance claims.