

Key Takeaways
- Clean and dry the deck thoroughly before applying any sealer or stain - moisture is the most common cause of finish failure.
- Sealers protect against water; stains add color and UV resistance - some products combine both, but not all perform equally well.
- New pressure-treated lumber must cure for several weeks before it will accept a finish properly.
- The correct application order is: clean, sand or strip if needed, prime bare wood, then apply your chosen topcoat.
- Two thin coats outperform one thick coat - thin applications penetrate the wood grain rather than sitting on top.
What you will need
Understanding What You're Protecting Against
Wood decks face two primary enemies: moisture and ultraviolet light. Moisture causes swelling, warping, cracking, and eventually rot. UV radiation breaks down the lignin - the natural binding compound in wood - causing graying, surface checking (small surface cracks), and brittleness. A good weatherproofing strategy addresses both threats simultaneously.
The product category you choose matters as much as the application technique. Pressure-treated wood and composite decking have different finish requirements - this guide focuses specifically on natural wood surfaces. If you're planning a deck from scratch, review what homeowners need to know before breaking ground before selecting materials.
Test Absorbency Before You Buy Product
Sprinkle a few drops of water on your cleaned, dry deck boards. If the water beads up, the existing finish is still repelling moisture and likely just needs a light cleaning rather than a full recoat. If the water soaks in within a minute or two, the wood is ready to accept a new finish. This quick test can save you hours of unnecessary prep work.
Gathering What You Need
Having the right tools on hand before you start prevents mid-project delays and ensures you don't rush drying times because supplies ran out.
What you will need
Deck Cleaner or Oxygen Bleach
Removes mildew, algae, tannin stains, and old finish residue before new product is applied.
Deck Brightener (Oxalic Acid Solution)
Neutralizes cleaner residue and restores the wood's natural pH, improving finish adhesion.
Pressure Washer or Garden Hose with Spray Nozzle
Rinses cleaning solution from the deck surface thoroughly.
Pole Sander with 80-100 Grit Sandpaper
Smooths raised grain after washing and removes peeling finish from boards.
Pump Sprayer
Applies sealer or stain quickly and evenly over large flat surface areas.
4-Inch Natural Bristle or Synthetic Brush
Works finish into the wood grain and into gaps between boards for full coverage.
Painter's Tape and Drop Cloths
Protects house siding, railings, and landscaping from drips and overspray.
Step-by-Step: The Right Order of Operations
The sequence below is not optional - each step prepares the wood for the next. Skipping or reordering steps is the primary reason deck finishes fail prematurely.
Never Apply Finish to a Wet Deck
Wood moisture content should be below 15% before you apply any sealer or stain. Applying finish to damp wood traps moisture inside, which accelerates rot, causes peeling, and voids many product guarantees. After rain or power washing, allow at least 48-72 hours of dry weather before you begin.
Inspect the Deck Structure and Surface
Before buying a single can of product, walk the deck and check for soft spots, cracked boards, loose fasteners, and standing water areas. Press a screwdriver into the end grain of each board - if it sinks more than a quarter-inch without much force, that board has rot and needs replacement before any cosmetic work begins.
See what regular deck maintenance involves for guidance on spotting early warning signs. Applying finish over structurally compromised wood is wasted effort and expense.
Strip Old Finish if Necessary
If the existing finish is peeling, flaking, or visibly failing, it must be removed before you recoat. Apply a dedicated deck stripper according to the label, allow it to dwell for the recommended time, then scrub and rinse. Applying new finish over failing old finish is the single most reliable way to guarantee the new coat fails just as fast.
If the old finish is simply faded but still intact and bonded to the wood, light cleaning and a compatible maintenance coat may be sufficient - check the original product's guidelines.
Clean the Deck Thoroughly
Mix a deck cleaner or oxygen bleach solution according to package directions. Apply it to the dry deck surface using a pump sprayer or stiff brush, working in sections. Allow it to dwell for 10-15 minutes - do not let it dry on the wood. Scrub with a stiff-bristle brush, paying extra attention to mildewed or discolored areas.
Rinse thoroughly with a garden hose or low-pressure setting on a pressure washer. High pressure (above 1,500 PSI) can raise and fuzz the wood grain, creating a rough surface that drinks finish unevenly.
Allow the Deck to Dry Completely
This is the step homeowners most often rush - and regret. After washing, allow the deck to dry for a minimum of 48 hours in warm, low-humidity conditions. Cooler or humid weather requires 72 hours or more. Use the water-bead test described in the tip callout to confirm the surface is ready.
Sand Rough or Raised Grain
After drying, run your hand along a few boards. Washing almost always raises the wood grain slightly, leaving a fuzzy texture. A quick pass with 80-100 grit sandpaper on a pole sander knocks down the raised fibers, giving the finish a smoother surface to penetrate and bond to. Sweep or vacuum all dust before proceeding.
Choose and Apply Your Finish
Understand the difference between your main product types before purchasing:
- Clear sealers repel water and resist mildew but provide minimal UV protection. They typically require reapplication every one to two years.
- Semi-transparent stains add color while letting wood grain show through. They provide better UV protection than clear sealers.
- Solid-color stains hide grain completely and offer the most UV protection, but also show wear differently and are harder to recoat without stripping.
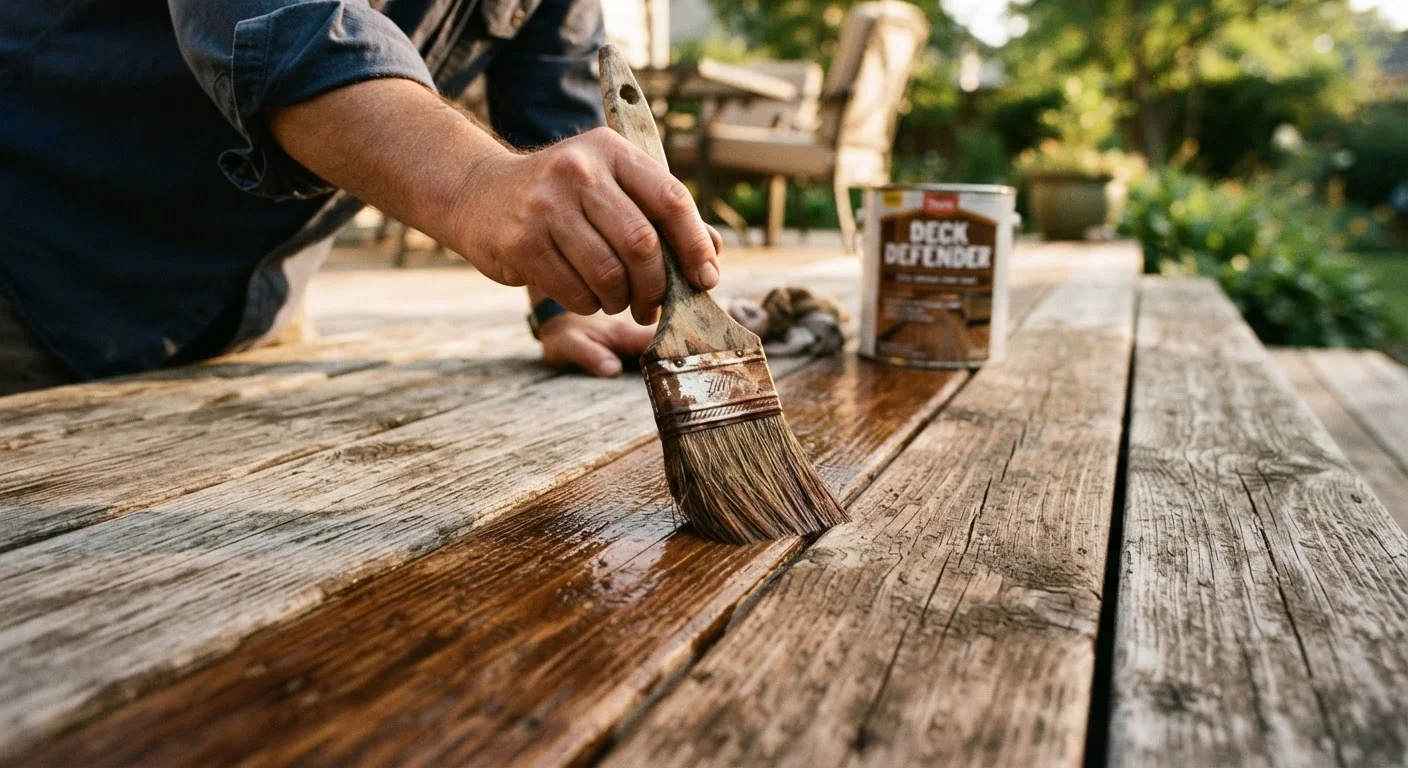
Apply using a brush to work finish into the grain and between boards, then back-roll or back-brush any sprayed areas. Apply two thin coats rather than one heavy coat - allow the first coat to absorb and tack up per the product's label before applying the second.
Allow Full Cure Before Use
Most deck finishes are dry to the touch in a few hours but require 24-48 hours before light foot traffic and up to 72 hours before furniture is placed back. Full cure - meaning the finish has fully hardened - typically takes 30 days. Avoid placing rugs, planters, or furniture with rubber feet on the deck during this period, as trapped moisture can prevent proper curing and leave marks.
Keeping the Finish Working Season to Season
Even a well-applied deck finish needs monitoring. Plan to inspect and clean your deck each spring and fall. Look for areas where water is no longer beading, where color has faded significantly, or where the finish is cracking or peeling at board ends - end grain absorbs the most moisture and usually shows wear first.
Most penetrating oil finishes benefit from a light maintenance coat every one to two years rather than a full strip-and-recoat cycle. Film-forming finishes (including solid stains) last longer between applications but require more thorough preparation when they do need renewal. A season-by-season maintenance checklist can help you stay ahead of issues before they become structural problems.
If you notice any soft or discolored wood during your inspections, address it promptly. Exterior wood rot repairs fail most often when the moisture source isn't identified first - so don't just treat the symptom.
Pressure-Treated Wood Needs a Cure Period
Freshly milled pressure-treated lumber contains preservative chemicals and residual moisture that prevent most finishes from bonding. Allow new pressure-treated decking to weather for four to eight weeks before testing absorbency and applying product. Skipping this step is one of the most common - and costly - mistakes homeowners make.