

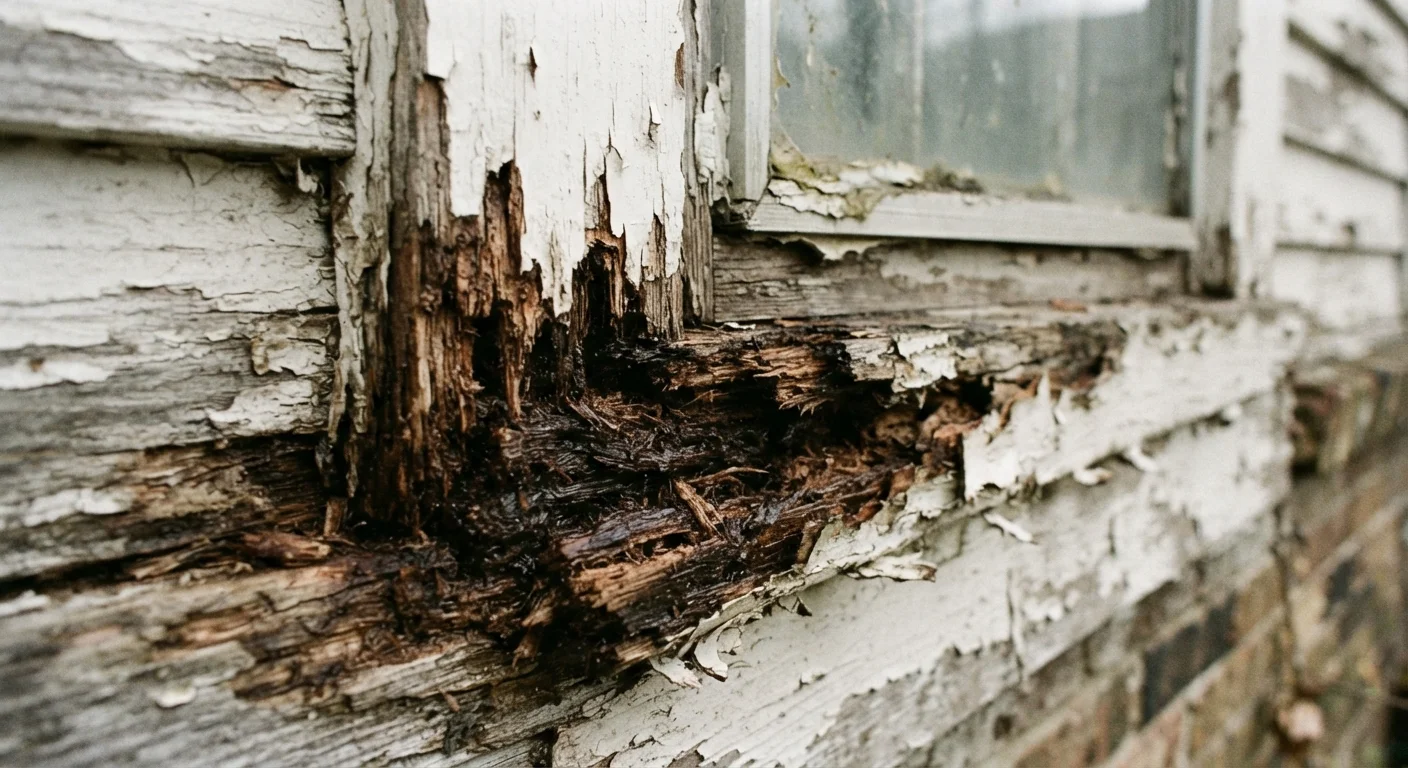
Key Takeaways
- Fixing wood rot without eliminating the moisture source almost always leads to repeat failure.
- Probing with a screwdriver reveals hidden rot that looks solid from the surface.
- Epoxy consolidants and fillers require dry wood to bond properly - moisture ruins adhesion.
- Bare repair patches must be primed and painted to prevent water from re-entering the wood.
- Some rot damage is too extensive for surface repair and requires full board replacement.
Why Exterior Wood Rot Repairs So Often Fail
Exterior wood rot is one of the more deceptive home repair problems. The surface damage is visible and seems straightforward to fix - scrape, fill, paint, done. But most repairs that fail within a season or two fail for the same reason: the underlying problem was never addressed. Rotted wood is a symptom of ongoing moisture exposure, not just aging material.
Understanding where the common mistakes happen can help you avoid a patch that crumbles by next spring. These errors aren't unusual - they come up repeatedly because wood rot looks like a finishing problem when it's actually a moisture management problem. Skipping the diagnostic step is one of the most reliable ways to turn a small fix into a costly redo.
Patching over rot without finding and fixing the moisture source.
Why it happens: The rotted area is visible and the source of water is not, so homeowners address what they can see. Caulk, filler, and paint feel like a complete solution.
Failing to probe for the full extent of rot before starting repairs.
Why it happens: Rot often looks contained on the surface while spreading several inches in each direction beneath intact paint.
Applying filler or consolidant to wood that is still damp.
Why it happens: Homeowners want to complete the repair quickly, especially before rain or cold weather arrives.
Skipping primer and leaving the repair patch unsealed.
Why it happens: Filler or epoxy looks solid once cured, and it can seem unnecessary to add a primer coat before painting.
Trying to salvage wood that is too far gone for surface repair.
Why it happens: Homeowners want to avoid the cost and effort of full board replacement and hope filler can compensate for extensive structural loss.
Getting the Repair Right the First Time
Once you've identified the moisture source and confirmed how far the rot extends, the repair itself becomes much more manageable. The right filler for the job matters - epoxy consolidants and wood fillers work very differently, and using the wrong one for the extent of damage will undermine the repair before the paint dries.
Don't Sand or Disturb Paint on Pre-1978 Homes Without Testing First
Exterior trim on homes built before 1978 may contain lead-based paint. Sanding, scraping, or disturbing this paint can release hazardous dust. Before working on older exterior wood, use an EPA-approved lead test kit or hire a certified inspector. The EPA's Renovation, Repair, and Painting (RRP) Rule sets specific requirements for work in pre-1978 housing - check with your local authority for guidance that applies in your area.
After the fill material cures completely, sand the surface flush, apply a quality primer coat specifically rated for exterior wood, and paint with at least two topcoats. Bare epoxy or filler left unsealed will absorb UV damage and moisture and degrade quickly. If you're also dealing with peeling paint on surrounding trim, spot repairs can blend in effectively if the prep work is done properly. For deck boards and railings exposed to standing water and UV, the order of sealing and staining steps matters significantly.
Rot Near Structural Members Needs a Professional Assessment
When rot is found close to load-bearing framing, rim joists, structural posts, or window rough openings, the situation goes beyond a cosmetic surface repair. Compromised structural wood can affect the integrity of the surrounding assembly. Have a licensed contractor or structural inspector evaluate the extent of damage before proceeding with any repair.
A well-executed rot repair - one that addresses moisture, removes all compromised material, uses the right filler, and finishes with proper sealing - can last many years. Shortcuts at any of these stages tend to cut that lifespan to a single season.