

Key Takeaways
- Stucco is a three-coat system; patching only the finish coat often fails because the damage may originate deeper.
- The substrate beneath stucco - wood, masonry, or metal lath - determines how moisture and movement affect cracks.
- Cracks wider than a hairline typically signal a problem beyond cosmetic wear and warrant closer inspection.
- Matching the mix ratio and texture of your existing stucco coat is as important as filling the gap itself.
- Some stucco repairs require permits or professional assessment, especially when structural movement is suspected.
Stucco System
Stucco is not a single layer of material - it's a carefully ordered system of coats applied over a structural base. A traditional stucco wall is built up in three coats: a scratch coat, a brown coat, and a finish coat, each serving a distinct mechanical purpose. Understanding this layered structure is the foundation of any successful repair.
Modern synthetic stucco systems (sometimes called EIFS - Exterior Insulation and Finish Systems) use a different substrate and adhesion method than traditional portland cement stucco, requiring different diagnostic and repair approaches.
Why Stucco Repairs Fail More Often Than They Should
Homeowners frequently approach stucco repair the same way they'd approach touching up drywall - find the crack, fill it, sand it smooth, paint it. The results are often disappointing: patches that pop off in a season, hairline cracks that return within months, or color blotches that never blend in. The reason isn't usually bad products or poor technique. It's a misunderstanding of what stucco actually is.
Unlike drywall patching, which is a relatively forgiving single-layer surface, stucco repair demands that you understand the full system before you open a bag of mix. Getting that context right is what separates a patch that holds for decades from one that fails before the next rainy season.
Traditional vs. Synthetic Stucco Systems
If your home was built or re-sided after the 1980s, it may have an EIFS (Exterior Insulation and Finish System) rather than traditional cement stucco. EIFS uses a foam insulation board and polymer-modified finish that look nearly identical to traditional stucco but require entirely different repair approaches. Check with your original contractor records or a building inspector if you're unsure which system you have.
The Three-Coat System: What Each Layer Does
A traditional portland cement stucco wall is built in three distinct coats, each applied over the previous one after it has cured sufficiently.
- Scratch coat: The first layer, applied directly over the metal lath or masonry substrate. It's called the scratch coat because applicators rake horizontal grooves into its surface while it's still wet, giving the next coat mechanical keys to grip. This coat is typically 3/8 inch thick.
- Brown coat: The second layer, also about 3/8 inch thick, applied over the scratched surface. It establishes a flat, level plane and is brought to a uniform consistency. The brown coat is the structural core of the stucco wall.
- Finish coat: The final layer, much thinner - usually 1/8 inch. This is the visible surface and carries the texture and color. It is also the most fragile layer and the one most homeowners attempt to repair without addressing what's beneath it.
When you see a crack in the finish coat, it may be telegraphing a problem in the brown coat, at the lath, or even at the substrate. Filling the surface alone without diagnosing deeper layers is how patches fail. Compare this layered logic to plaster wall repair, which shares a similar multi-coat philosophy.
What's Behind the Stucco: Substrates and Water Barriers
Beneath all three coats lies the substrate - the structural layer the stucco clings to. The type of substrate matters enormously for diagnosing repair needs.
On wood-framed homes, stucco is applied over metal lath (a diamond-mesh wire embedded in the base coat) that is fastened to sheathing. Critically, between the sheathing and the lath sits a water-resistive barrier - typically two layers of Grade D building paper or a modern housewrap. This barrier is the stucco wall's primary defense against moisture intrusion.
On masonry homes (concrete block or brick), stucco bonds directly to the masonry surface, which provides its own structural rigidity but still requires attention to moisture management. Water-related damage in masonry stucco often appears as white powdery efflorescence alongside cracks.
Tap Test Before You Patch
Use a rubber mallet or the handle of a screwdriver to gently tap across the stucco surface around any crack. Solid stucco produces a dense thud; debonded stucco produces a hollow, drum-like sound. Map out any hollow areas with chalk before deciding on your repair scope - debonded sections must be removed, not covered over.
When a crack extends through all three stucco coats and into the substrate, you're no longer dealing with surface repair - you're dealing with a potential moisture-intrusion pathway that can damage sheathing, framing, or insulation. In those cases, the repair scope expands significantly.
Reading the Crack Before You Reach for the Mix
Not all stucco cracks are equal, and a few minutes of observation can save hours of rework.
- Hairline cracks in the finish coat only are typically caused by thermal expansion and contraction or minor shrinkage during the original cure. These are usually cosmetic.
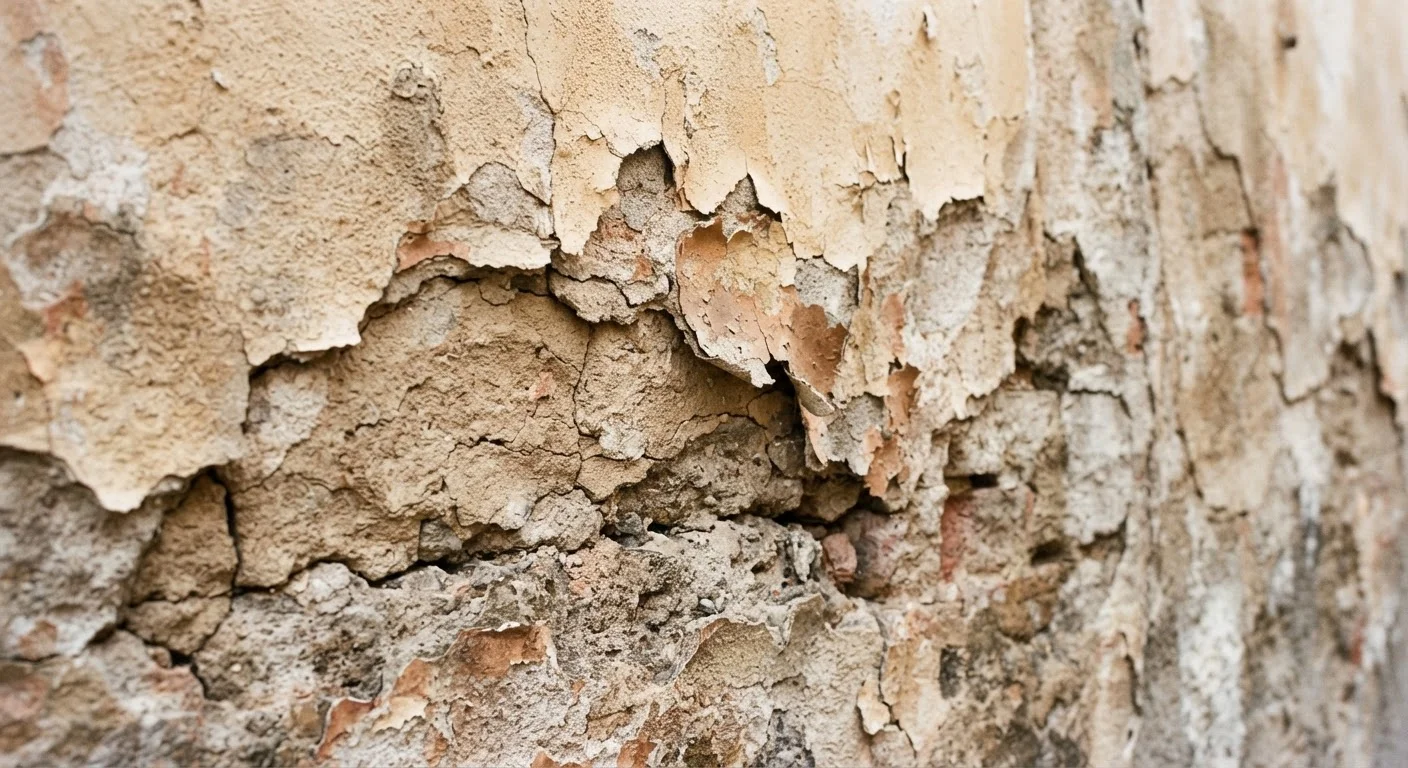
- Map cracking (also called alligator cracking) - a web of interconnected cracks across a large area - often indicates the brown coat dried too fast, the wrong mix ratio was used, or moisture is cycling beneath the surface.
- Diagonal cracks at window or door corners are a common sign of differential settlement or framing movement. These almost always recur if patched without addressing the underlying cause. This pattern is worth comparing to what similar diagonal cracks mean in drywall.
- Bulging or hollow-sounding sections - tested by tapping gently with a rubber mallet - indicate the stucco has debonded from the substrate. These sections need to be removed entirely before new material is applied.
If you're uncertain whether a crack is cosmetic or structural, consult a licensed stucco contractor or building inspector before proceeding. If you do hire out the work, understanding how repair contractors use subcontractors can help you stay informed through the process.
3 coats
Layers in a traditional stucco wall system
Traditional portland cement stucco is applied in three distinct coats - scratch, brown, and finish - each with a separate curing period before the next is applied.
~1 inch
Typical total stucco wall thickness
A standard three-coat stucco system measures approximately 7/8 to 1 inch in total thickness, not counting the substrate or water-resistive barrier behind it.
1/4 inch
Crack width threshold warranting professional assessment
Cracks at or wider than roughly 1/4 inch - or cracks that repeatedly return after patching - are generally considered a signal to consult a licensed contractor rather than proceed with DIY repair.
Matching Texture and Finish: The Last Mile of Any Repair
Even a structurally sound patch can look worse than the original damage if the texture doesn't match. Stucco finishes come in many forms - dash, float, skip trowel, sand finish - and the pattern is created by the specific tool and technique used during application, not just the mix itself.
Before mixing anything, take a close-up photograph of the existing texture in raking light (light angled across the surface) so you can see the pattern clearly. Small test patches on a scrap board can help you dial in the technique before touching the wall. Keep in mind that newly applied stucco will appear lighter than weathered stucco even when the mix matches. Blending to a natural stopping point - a control joint, a corner, or a change in wall plane - almost always looks better than feathering into the middle of a flat field.
The same principle applies to adjacent exterior finishes. If you're dealing with trim paint issues alongside stucco repairs, the approach to blending spot repairs on exterior trim follows similar logic: prep and transition points matter more than the product itself.
This article is for general informational and educational purposes only. Stucco repair involving structural elements, moisture barriers, or extensive damage should be evaluated by a licensed contractor. Always verify local permit requirements before beginning any exterior wall repair.